WooCommerce Installation
Linking your WooCommerce store with RevCent.
Overview
Running a WooCommerce store? Just install the RevCent Payments plugin to import products, and begin synchronizing your orders with RevCent’s backend. Updates and fulfillment data will reflect back on your WooCommerce site.
Before You Start
This installation guide assumes the entities below have already been created.
Campaign Created
If you have not created a campaign in RevCent please follow the instructions on Creating A Campaign
Payment Profile Created
If you have not created a payment profile in RevCent please follow the instructions on Creating Your First Payment Profile
Install WordPress Plugin
Login to WordPress
Go to your WordPress site and login as the site administrator.
Search Plugin
- Go to the Plugins page in your WordPress site and click the Add New button.
- On The Add New page, type revcent in the search bar.
- The RevCent Payments plugin box should appear. Continue below.
Install Plugin
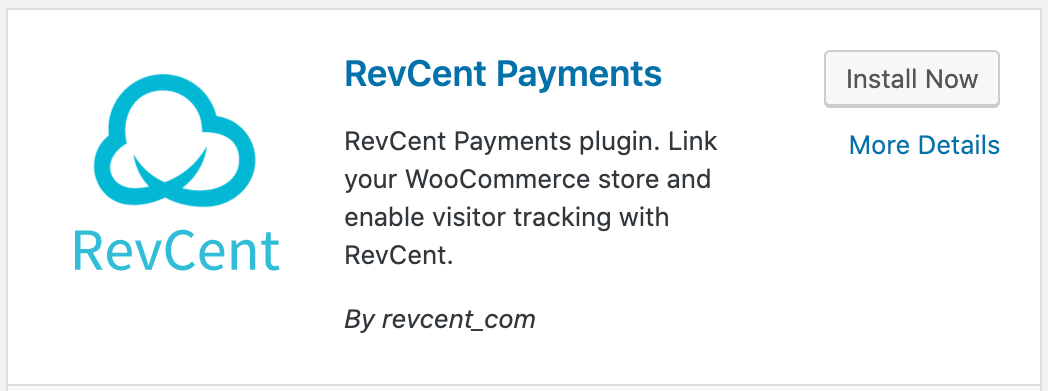
- Click the Install Now button.
- Once installation has finished, click the Activate button.
Plugin Install Complete
Once you have installed and activated the RevCent plugin continue below to Create a WooCommerce API Key.
Create A WooCommerce API Key
You will need to create an API key within WooCommerce so RevCent can communicate with your store.
Note: We recommend opening a text editor so you can copy and paste the credentials that WooCommerce will generate. You will need these credentials later on in this guide.
WooCommerce Settings
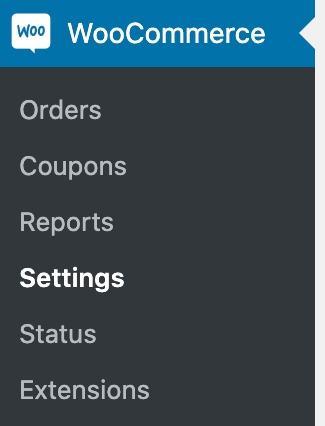
- On the WordPress sidebar, click Settings in the WooCommerce dropdown.
Advanced Settings > REST API

- Once on the WooCommerce settings page, click the Advanced Tab.
- In the Advanced settings tab, click REST API.
- Once in the REST API section click the Add Key button.
Add Key
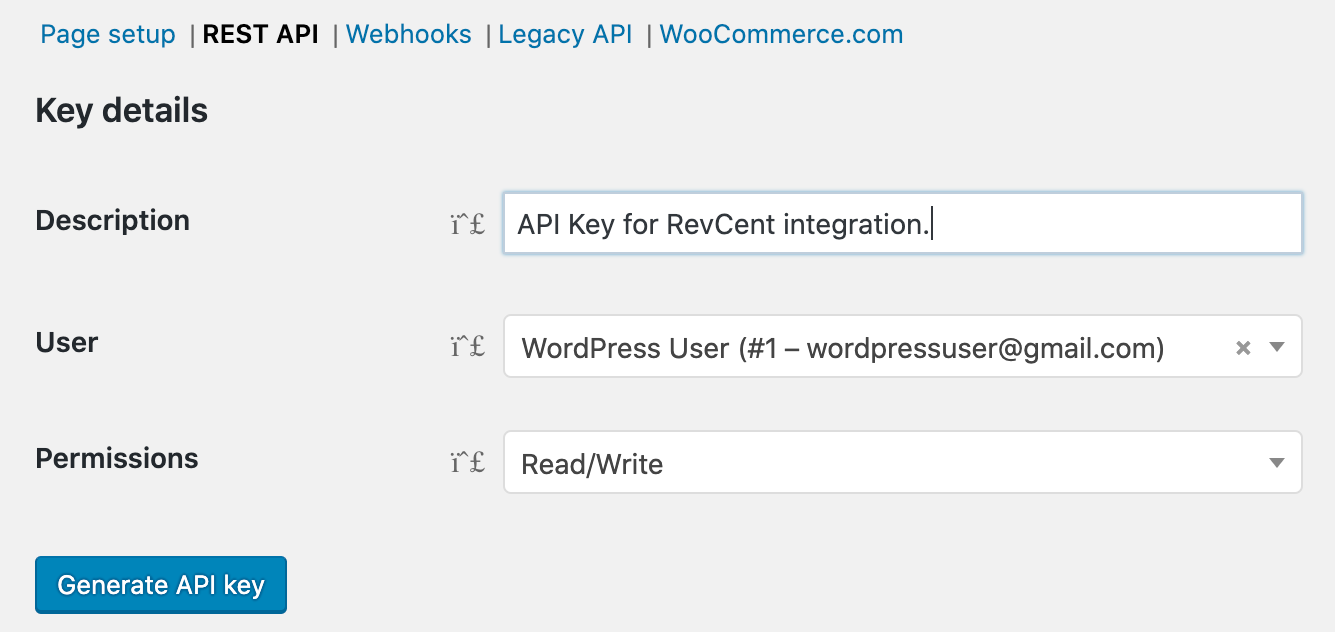
- For description enter ‘API Key for RevCent integration’.
- For user, select the WordPress Admin user.
- For permissions, select Read/Write.
- Click the Generate API Key button.
Key Generated
Once the key is generated you will not be able to retrieve these credentials later. You need to save them to a text editor on your computer.
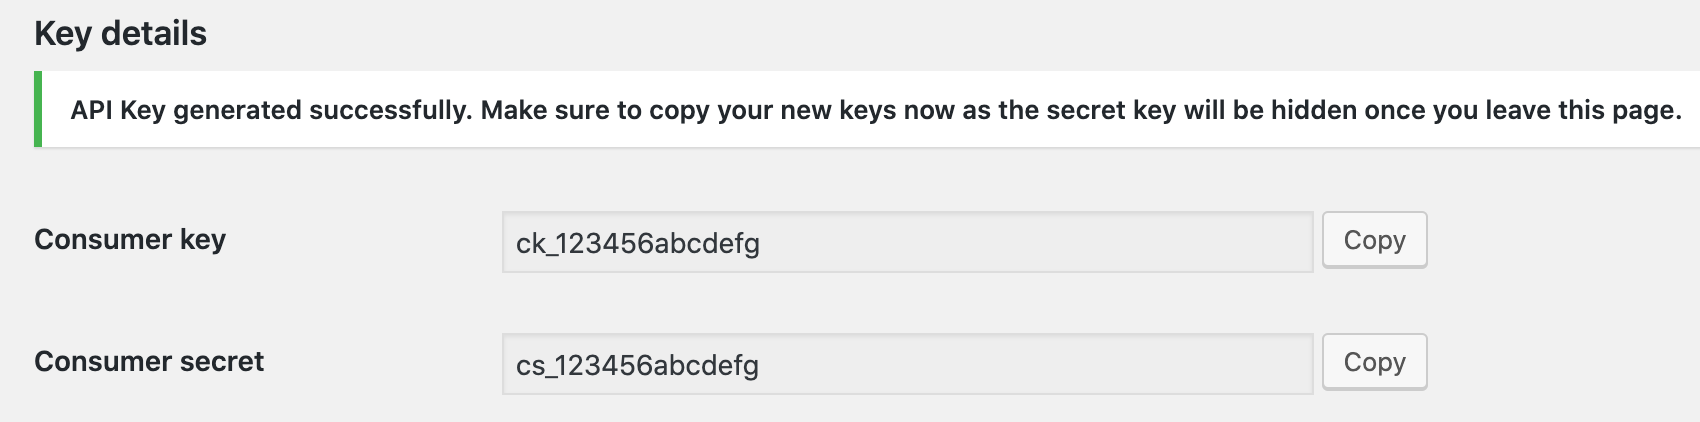
- Copy and paste the Consumer key into a text editor on your computer.
- Copy and paste the Consumer secret into a text editor on your computer.
Key Credentials Saved
Once you have copied and pasted both key credentials into a text editor, continue the steps below to create a RevCent shop.
Create A RevCent Shop
Login to RevCent
Visit RevCent and login to your account. If you do not have a RevCent account, click here to sign up.
Create A Third Party Shop
Create a new third party shop by going to https://revcent.com/user/new-third-party-shop
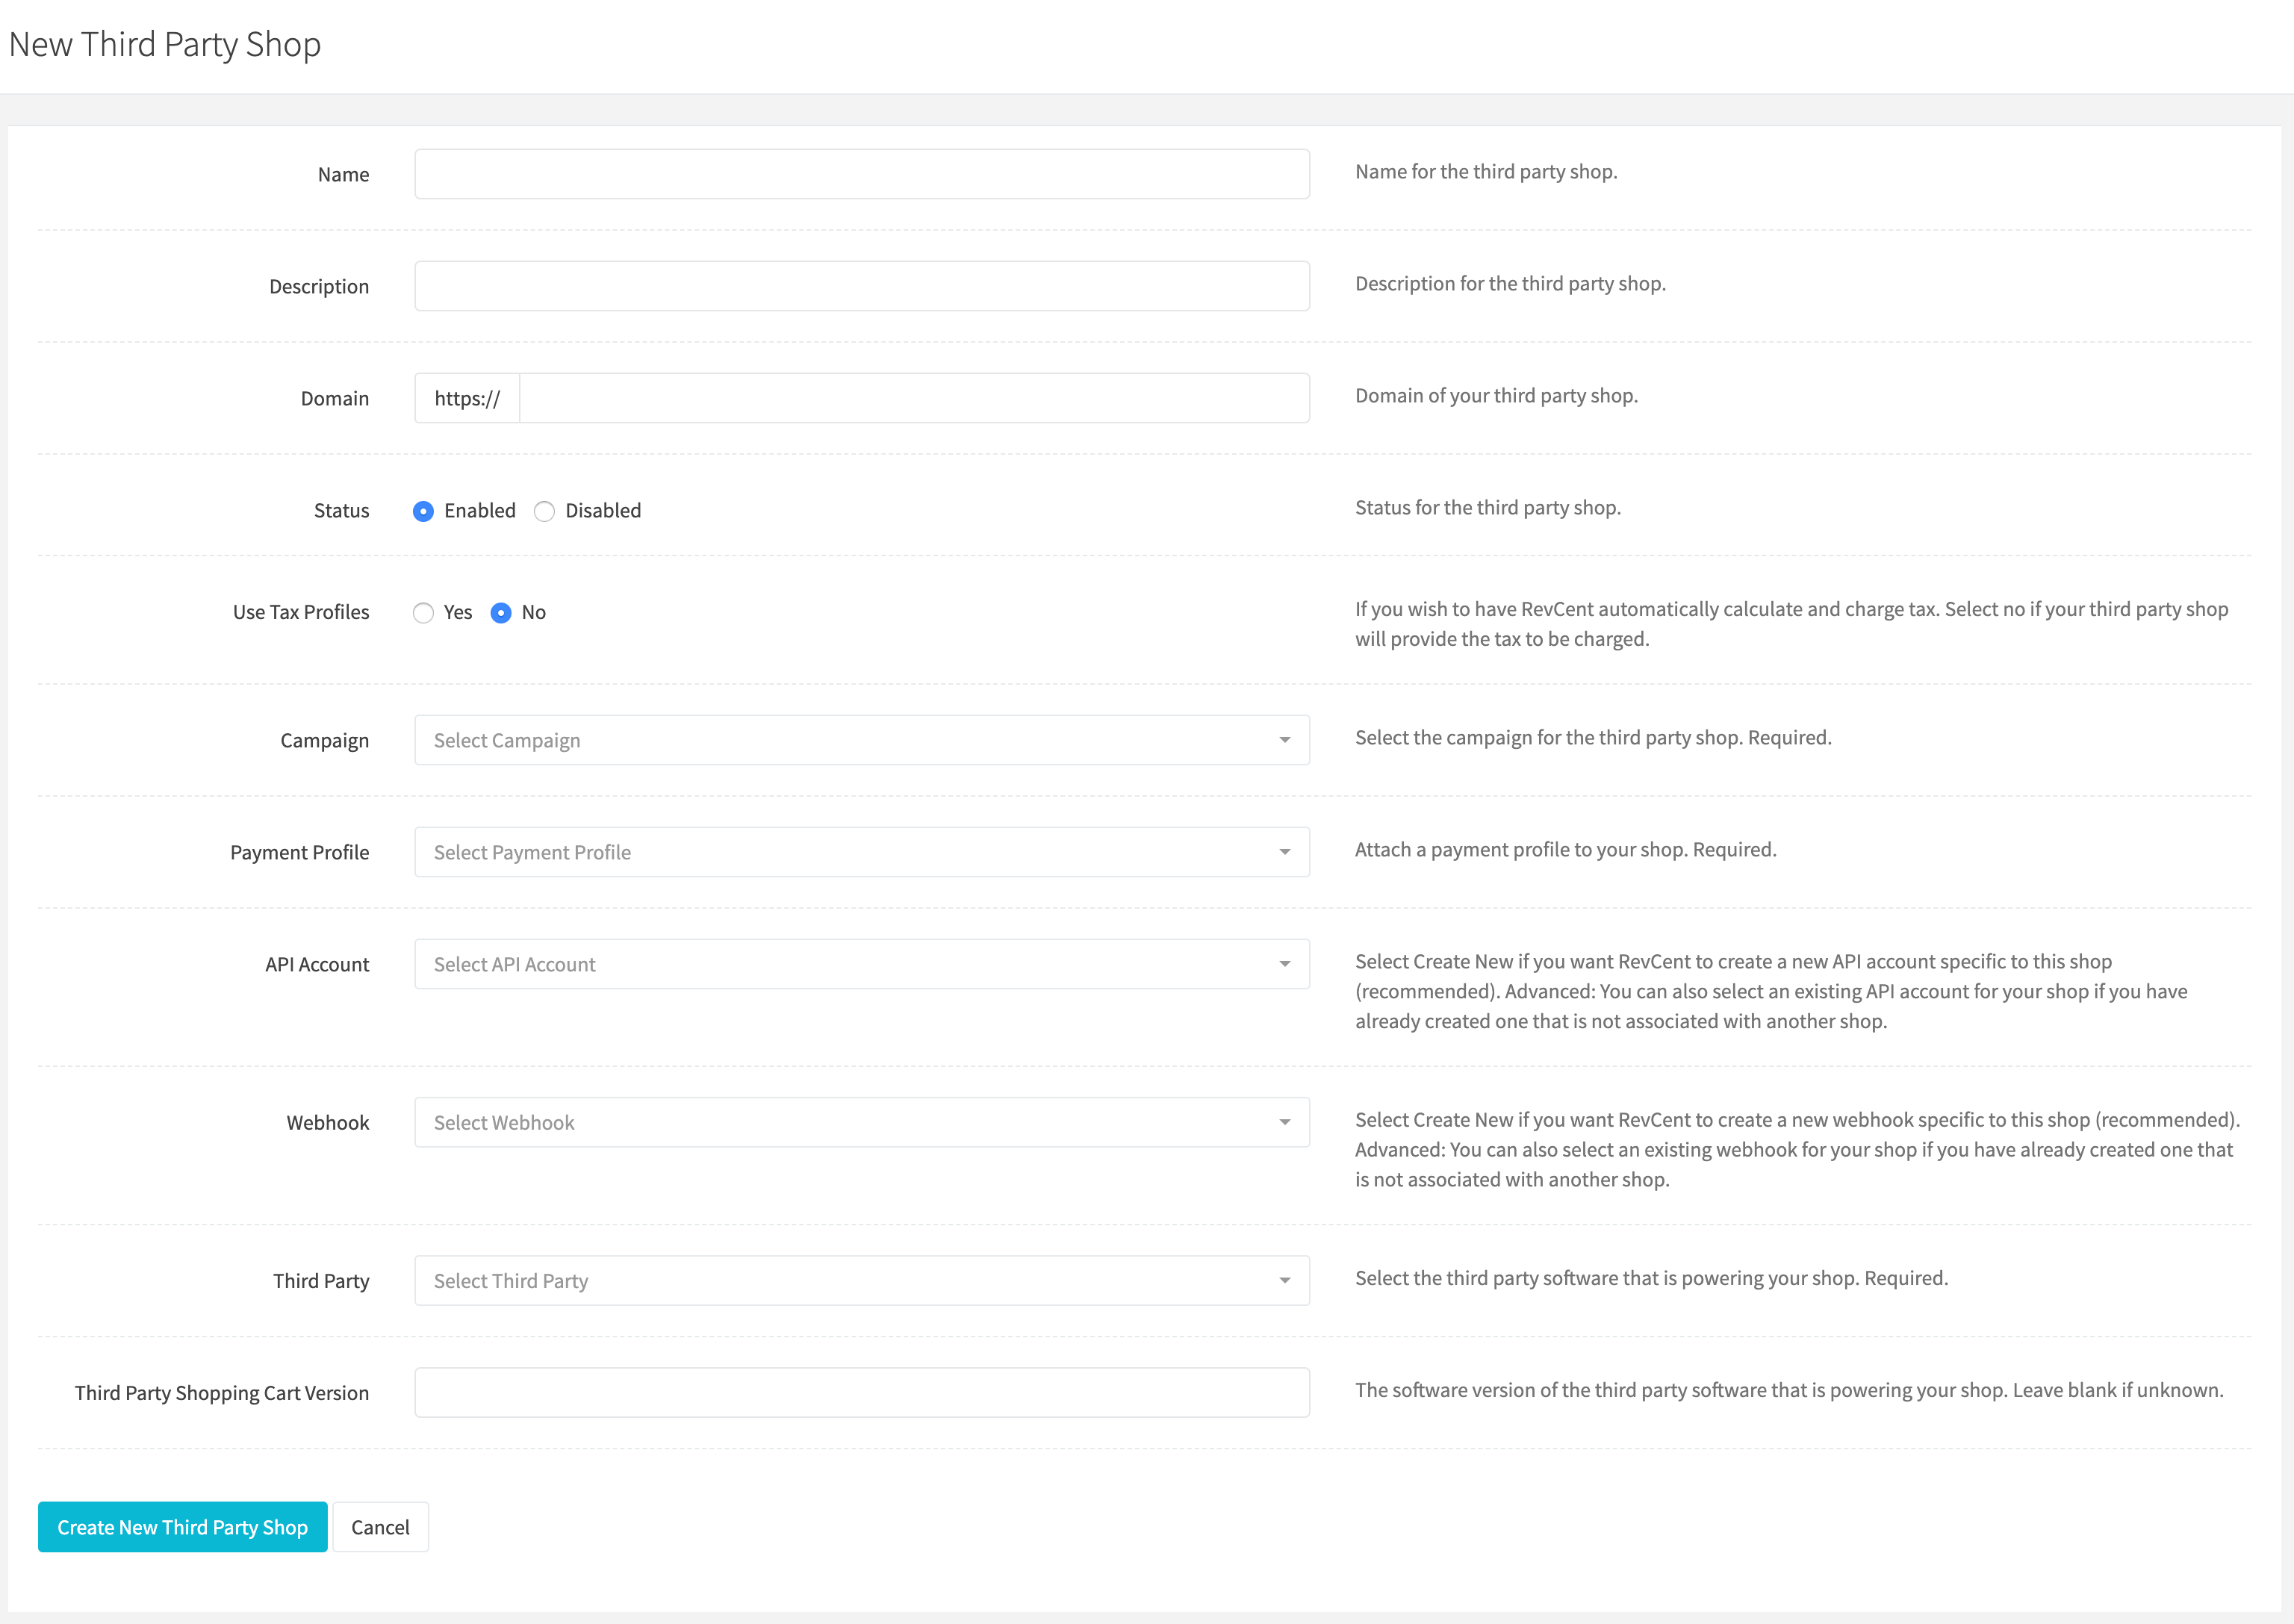
Name
Set a name for the third party shop. Required.
Description
Set a description for the third party shop. Optional.
Domain
Enter the domain of your third party shop. i.e. ‘myshop.com’ or ‘myshop.com/store’.
Status
Set the status of your third party shop. Default is enabled.
Mode
Choose Test while configuring and verifying the integration. Choose Live when the shop is ready to accept customer payments.
Campaign
Attach a campaign to your shop. Required.
Payment Profile
Attach a payment profile to your shop. Required.
Platform
Select WooCommerce in the dropdown.
Platform Version
Enter the API version of your third party shopping cart. Refer to the chart below.
| API Version | WooCommerce Version | WordPress Version |
|---|---|---|
| 3 | 3.5.x or later | 4.4 or later |
| 2 | 3.0.x or later | 4.4 or later |
| 1 | 2.6.x or later | 4.4 or later |
Ready to create
- Enter the Consumer key and Consumer secret saved earlier in the Credentials section, then click Create shop after entering the required fields.
- You will be automatically forwarded to the edit page for the new shop. Continue the steps below after being forwarded.
Enter WooCommerce API Credentials
The credentials entered during creation are saved with the shop. To replace them later, use the WooCommerce API credentials generated for your store.
Open the shop editor’s Credentials tab.
WooCommerce API Credentials Box
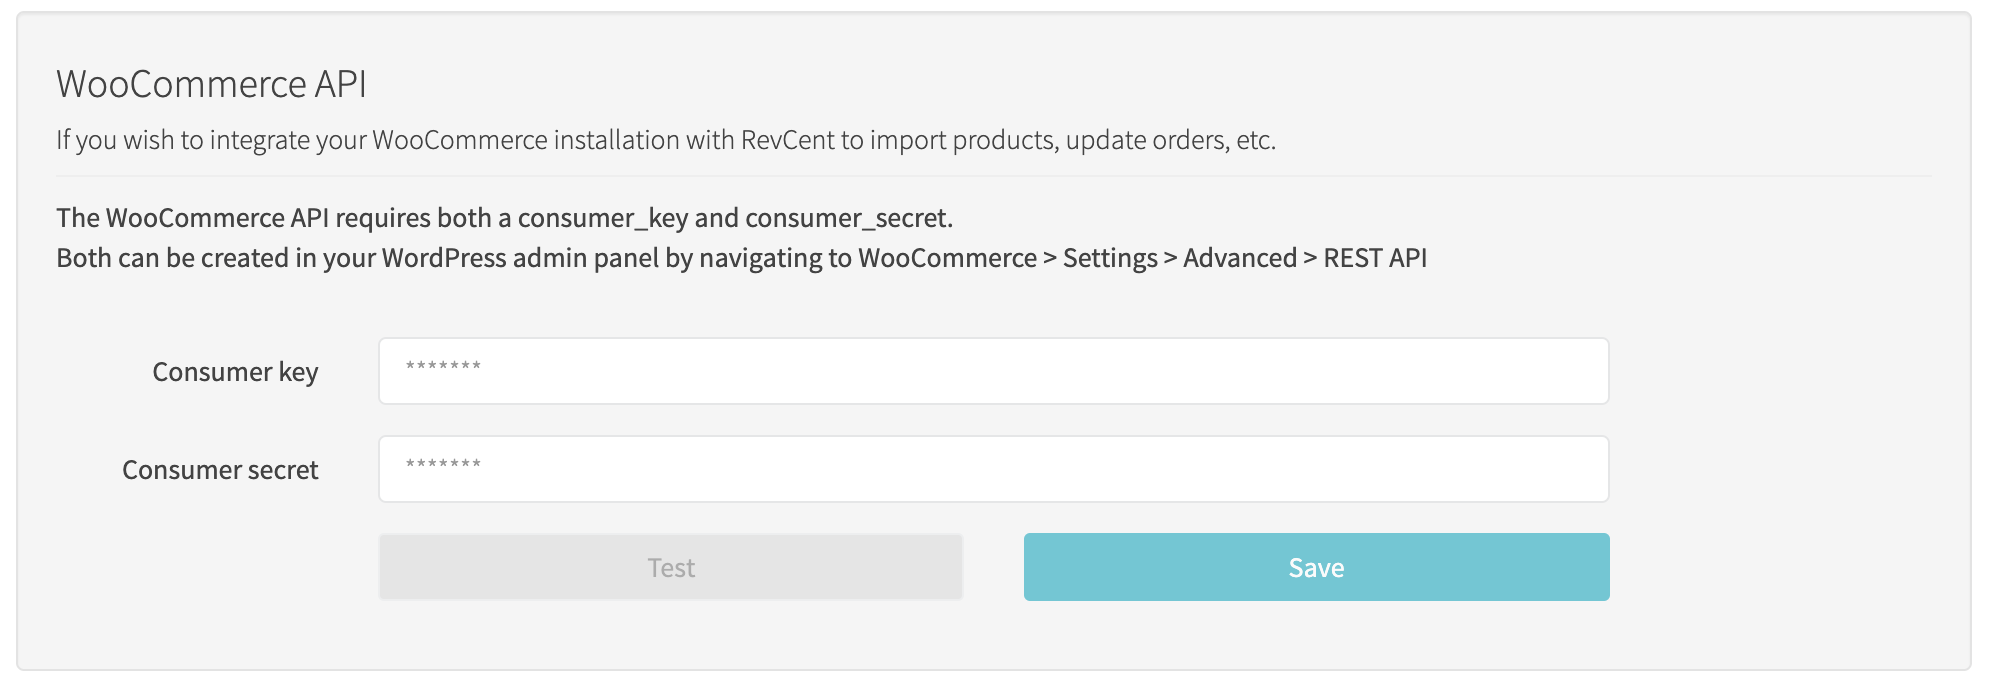
Consumer Key
Enter the WooCommerce Consumer Key you pasted in the text editor. It is the key that starts with ck_
Consumer Secret
Enter the WooCommerce Consumer Secret you pasted in the text editor. It is the key that starts with cs_
- Enter both credentials in the Credentials tab.
- Click Save changes. Existing saved credentials show Saved securely; leave them blank to keep the saved values.
- Continue below to finalize the WooCommerce installation.
Finalize WooCommerce Installation
The current shop editor does not expose the former Scan and Fix action or its status panel. After saving the WooCommerce credentials, complete the RevCent Payments plugin settings in WordPress for this shop. Contact RevCent if you need help linking the plugin; a saved credential alone does not confirm that checkout is ready.
Scan And Fix
This action is not available in the current RevCent web app.
Scan and Fix Success
The legacy success panel is no longer shown. Verify the plugin configuration in WordPress before accepting customer payments.
WooCommerce Installation Complete
After completing the plugin configuration, verify checkout in test mode before enabling live payments.
Import Shipping from WooCommerce
If you sell shippable products on your WooCommerce store you need to import your shipping methods.
Import Products from WooCommerce
Begin importing your products to RevCent directly from WooCommerce by following the Import Products guide.
Import Additional Payment Methods from WooCommerce
If you use additional payment methods in your store we recommend importing them into RevCent. Read more about how to import additional payment methods into RevCent.
WooCommerce & 3DS
You have the ability to pass 3DS values to RevCent when using WooCommerce. This requires a third party implementation, typically a JavaScript SDK, such as PAAY. Conduct the 3DS verification during checkout and pass the returned values to RevCent via form fields.
3DS Fields
When a customer submits payment, the values in the table below can be included in the checkout POST body. If RevCent detects the specific POST field values in the submission body, it will include them in the 3DS payment request RevCent ultimately sends to the payment gateway. Note: The fields marked as Required must be submitted and cannot be empty, else RevCent will ignore the 3DS submission.
| POST Field | Common Third Party Fields | Example Value | Description | Required |
|---|---|---|---|---|
| three_ds_eci | eci | 05 | The eci value returned in a successful 3DS verification. | TRUE |
| three_ds_cavv | cavv, authenticationValue | Y2FyZGluYWxjb21tZXJjZWF1dGg | The CAVV a.k.a. authentication value, returned in a successful 3DS verification. | TRUE |
| three_ds_directory_server_id | dsTransId, directoryServerTransactionId, directoryServerId | 3f6fb1f8-f719-46c9-905b-bab446f4de30 | The directory server transaction ID returned in a successful 3DS verification. | TRUE |
| three_ds_version | threeDsVersion, threeDSecureVersion, protocolVersion | 2.1.0 | The 3DS version used for verification. | TRUE |
| three_ds_acs_transaction_id | acsTransId | d6f15aae-2c9d-4333-a920-954be07c0c76 | The acs transaction ID returned in a successful 3DS verification. |
Form Example
To submit 3DS fields during checkout, you can create hidden form inputs inside the WooCommerce checkout <form> using JavaScript. When a successful 3DS authentication completes, append the form inputs to the main checkout form, each input having the respective 3DS values. It is important to note the “name” attribute form each hidden form input. The “name” attribute must match the POST field in the table above.
The hidden input values will be sent to the server once the customer clicks the submit button. RevCent will detect the POST values and include the 3DS details in the payment request sent to the gateway.
<form name="checkout" method="post" class="checkout woocommerce-checkout" action="https://mystore.com/checkout">
  <input type="hidden" name="three_ds_eci" value="05"/>
  <input type="hidden" name="three_ds_cavv" value="Y2FyZGluYWxjb21tZXJjZWF1dGg"/>
  <input type="hidden" name="three_ds_directory_server_id" value="3f6fb1f8-f719-46c9-905b-bab446f4de30"/>
  <input type="hidden" name="three_ds_version" value="2.1.0"/>
  <input type="hidden" name="three_ds_acs_transaction_id" value="d6f15aae-2c9d-4333-a920-954be07c0c76"/>
  ...All other checkout inputs
</form>
JavaScript Example
Below is an example JavaScript snippet on creating hidden form inputs after receiving a successful PAAY 3DS response. In the example, the input fields are appended to the WooCommerce checkout form. View PAAY documentation on 3DS verification in the browser.
const createHiddenInput = (name, value) => {
  const newInput = document.createElement("input");
  newInput.setAttribute("type", "hidden");
  newInput.setAttribute("name", name);
  newInput.value = value;
  return newInput;
};

let checkoutFormEl = document.querySelector("form[name='checkout']");
checkoutFormEl.appendChild(createHiddenInput("three_ds_cavv", paay_response.authenticationValue));
checkoutFormEl.appendChild(createHiddenInput("three_ds_eci", paay_response.eci));
checkoutFormEl.appendChild(createHiddenInput("three_ds_directory_server_id", paay_response.dsTransId));
checkoutFormEl.appendChild(createHiddenInput("three_ds_version", paay_response.protocolVersion));