¶ Overview
Use our HTML builder to create your own email templates. Send emails when specific events occur, including new sales, shipments and more.
¶ SMTP Profile Required
In order to send an email using an Email Template you must have at least one active SMTP Profile. RevCent does not send emails on behalf of our users via our own SMTP server, you must have your own.
¶ Email Template
¶ View All Email Templates
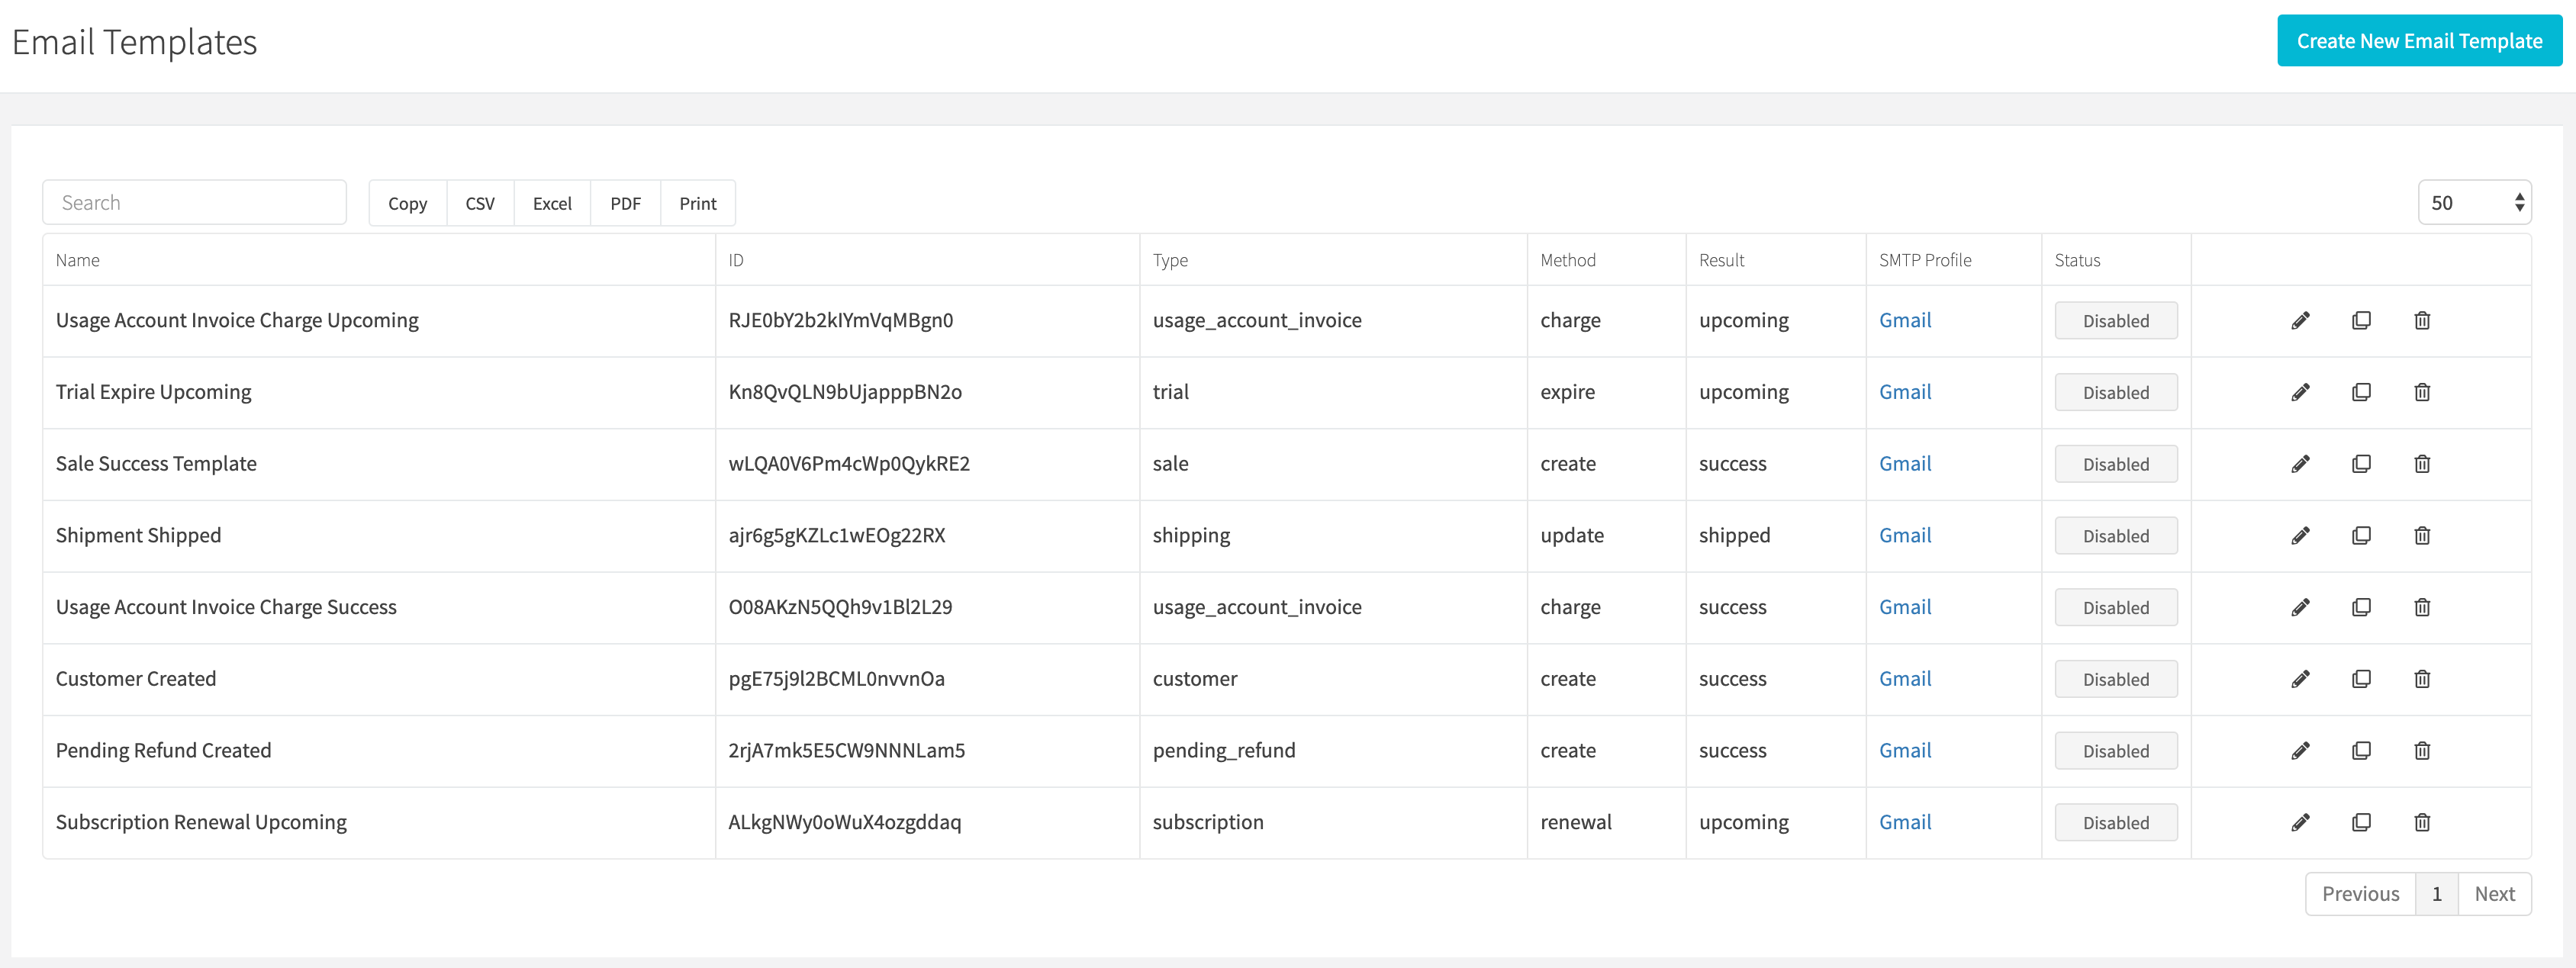
View all email templates by clicking the Integrations > SMTP > Email Templates link on the sidebar or going to https://revcent.com/user/email-templates
¶ Create or Edit An Email Template
Create a new email template by clicking the Create New Email Template button when viewing all email templates or go to https://revcent.com/user/new-email-template
Edit an existing email template by clicking the edit button when viewing all email templates.
¶ Email Template Details

¶ Name
Set a name for the email template. Required.
¶ Description
Set a description for the email template.
¶ Status
Set the status for the email template.
¶ SMTP Profile
Assign the email template an SMTP profile. Required.
¶ Email Template Content
¶ Basic Fields

¶ From
The from address. Default is your RevCent account email.
¶ To
Enter email addresses separated by comma. For customer, use 'customer'.
¶ Cc
Enter email addresses separated by comma. For customer, use 'customer'.
¶ Bcc
Enter email addresses separated by comma. For customer, use 'customer'.
¶ Subject
Email subject. Shortcodes are allowed.
¶ Handlebars Syntax
The design editor and code editor both support dynamic data using Handlebars templating language, allowing you to personalize an email template. Handlebars takes the Input Data and extracts data based on the notation. Handlebars syntax allows you to generate customized email templates by inserting data to make an email relevant to a specific recipient.
For example, if you had the item data { name: ‘my product’ }, you can reference this in a template using handlebars syntax: {{name}} which will output the string “my product”.
In addition to substituting values, you can use Handlebars in your designs to format dates, iterate over lists, and conditionally render content. Handlebars offers numerous advanced capabilities including conditionals, expressions and more.
Handlebars Documentation
- Handlebars website: Read about all of the capabilities of Handlebars at the official Handlebars website.
- Twilio SendGrid: For detailed examples, please read the SendGrid Handlebars reference. RevCent's email template system follows the same principles as the SendGrid documentation pertaining to handlebars syntax use and capabilities. Formatting, substitutions, iterations and conditional statements contained in the SendGrid documentation are also supported in RevCent.
¶ Custom Helpers
Several custom helpers are available for you to format the output of an input string, number and more. These helpers are available in addition to the built-in Handlebars helpers.
| Helper | Shortcode | Input Data | Output | Description |
|---|---|---|---|---|
| formatDate | {{formatDate created_date_unix 'MM/DD/YYYY' ‘-0500’}} |
|
01/05/2023 | Uses MomentJS format display tokens. Please read the detailed explanation below. |
| formatCurrency | {{formatCurrency amount}} |
|
$20.42 | Uses the iso_currency value from item data to determine the number format. |
| findWhereEquals | {{findWhereEquals 'metadata' 'name' 'affiliate_id' 'value'}} |
|
12345 | Finds a value within an array of objects. Please read the detailed explanation below. |
| math | {{math 'add' shipping_amount tax_amount 'currency'}} |
|
$11.82 | Perform a mathematic calculation between two numbers with result formatting. Please read the detailed explanation below. |
| parseInt | {{parseInt amount}} |
|
14 | Converts a value into an integer. |
| parseFloat | {{parseFloat amount}} |
|
14.42 | Converts a value into a floating point number. |
| toString | {{toString amount}} |
|
14.42 | Converts a value into a string. |
| startCase | {{startCase customer.first_name}} |
|
Stanley | Converts a string value to capitalize the first letter of each word. |
| upperCase | {{upperCase customer.first_name}} |
|
STANLEY | Converts a string value to capitalize all words. |
| lowerCase | {{lowerCase customer.first_name}} |
|
stanley | Converts a string value to lowercase all word. |
¶ formatDate
The formatDate helper will take a valid ISO time or unix timestamp and convert it into the format you specify. The second argument is an optional token format, default is 'MM/DD/YYYY'. The third argument is an optional timezone offset, default is UTC 0. If providing timezone offset, second argument token format is required. Uses MomentJS format display tokens.
Note: You can use the term now to use the timestamp at time of template compilation. Ex: {{formatDate now 'MM/DD/YYYY' ‘-0500’}}
Example Data:
{
    created_date_unix: 1672956769
}
| Handlebars | Output |
|---|---|
{{formatDate created_date_unix}} |
01/05/2023 |
{{formatDate created_date_unix 'MM/DD'}} |
01/05 |
{{formatDate created_date_unix 'MM/DD/YYYY hh:mm:ssa'}} |
01/05/2023 10:12:49pm |
{{formatDate created_date_unix 'MM/DD/YYYY hh:mm:ssa' ‘-500’}} |
01/05/2023 05:12:49pm |
¶ formatCurrency
The formatCurrency helper uses the iso_currency value from item data to determine the number format.
Example Data:
{
	amount: 20.42,
	iso_currency: 'USD'
}
| Handlebars | Output |
|---|---|
{{formatCurrency amount}} |
$20.42 |
¶ findWhereEquals
The findWhereEquals helper will find the value for a specific object property within an array of objects. Mostly useful for parsing the metadata array, searching for a value where another value equals something.
Arguments:
- The array to search in the item data. In the example shortcode, we want to search the metadata array.
- The property to match. In the example shortcode, we want to match the value where property is “name”.
- The property value must equal to. In the example shortcode, we want to match the value where property is “name” (from #2) and value is “affiliate_id”.
- The other property value to retrieve. In the example shortcode, we want to get the value for the “value” property within the same object found using 2 & 3.
Format: {{findWhereEquals #1 #2 #3 #4}}
Example Shortcode: {{findWhereEquals 'metadata' 'name' 'affiliate_id' 'value'}}
Example Data:
{
	"metadata": [
		{
    		name: 'coupon_code',
    		value: '10percent',
    		entry_date: '2023-01-05'
		},
		{
    		name: 'affiliate_id',
    		value: '12345',
    		entry_date: '2023-01-05'
		}
	]
}
| Handlebars | Output |
|---|---|
{{findWhereEquals 'metadata' 'name' 'affiliate_id' 'value'}} |
12345 |
{{findWhereEquals 'metadata' 'name' 'coupon_code' 'value'}} |
10percent |
{{findWhereEquals 'metadata' 'value' '10percent' 'name'}} |
coupon_code |
¶ math
The math helper will perform a mathematic calculation between two numbers with result formatting.
Arguments:
- The mathematical computation to perform. Can be either ‘add’, ‘subtract’, ‘multiply’ or ‘divide’.
- The first number value.
- The second number value.
- The format to return. Can be either ‘integer’, ‘float’ or ‘currency’. Note: ‘float’ will return a value to two decimal places.
Format: {{math #1 #2 #3 #4}}
Example Shortcode: {{math 'add' shipping_amount tax_amount 'currency'}}
Example Data:
{
	"shipping_amount": 10.40,
	"tax_amount": 1.42
}
| Handlebars | Output |
|---|---|
{{math 'add' shipping_amount tax_amount 'currency'}} |
$11.82 |
{{math 'add' shipping_amount tax_amount 'float'}} |
11.82 |
{{math 'subtract' shipping_amount tax_amount 'integer'}} |
8 |
{{math 'multiply' shipping_amount tax_amount 'float'}} |
14.76 |
{{math 'divide' shipping_amount tax_amount 'float'}} |
7.32 |
¶ Design Editor
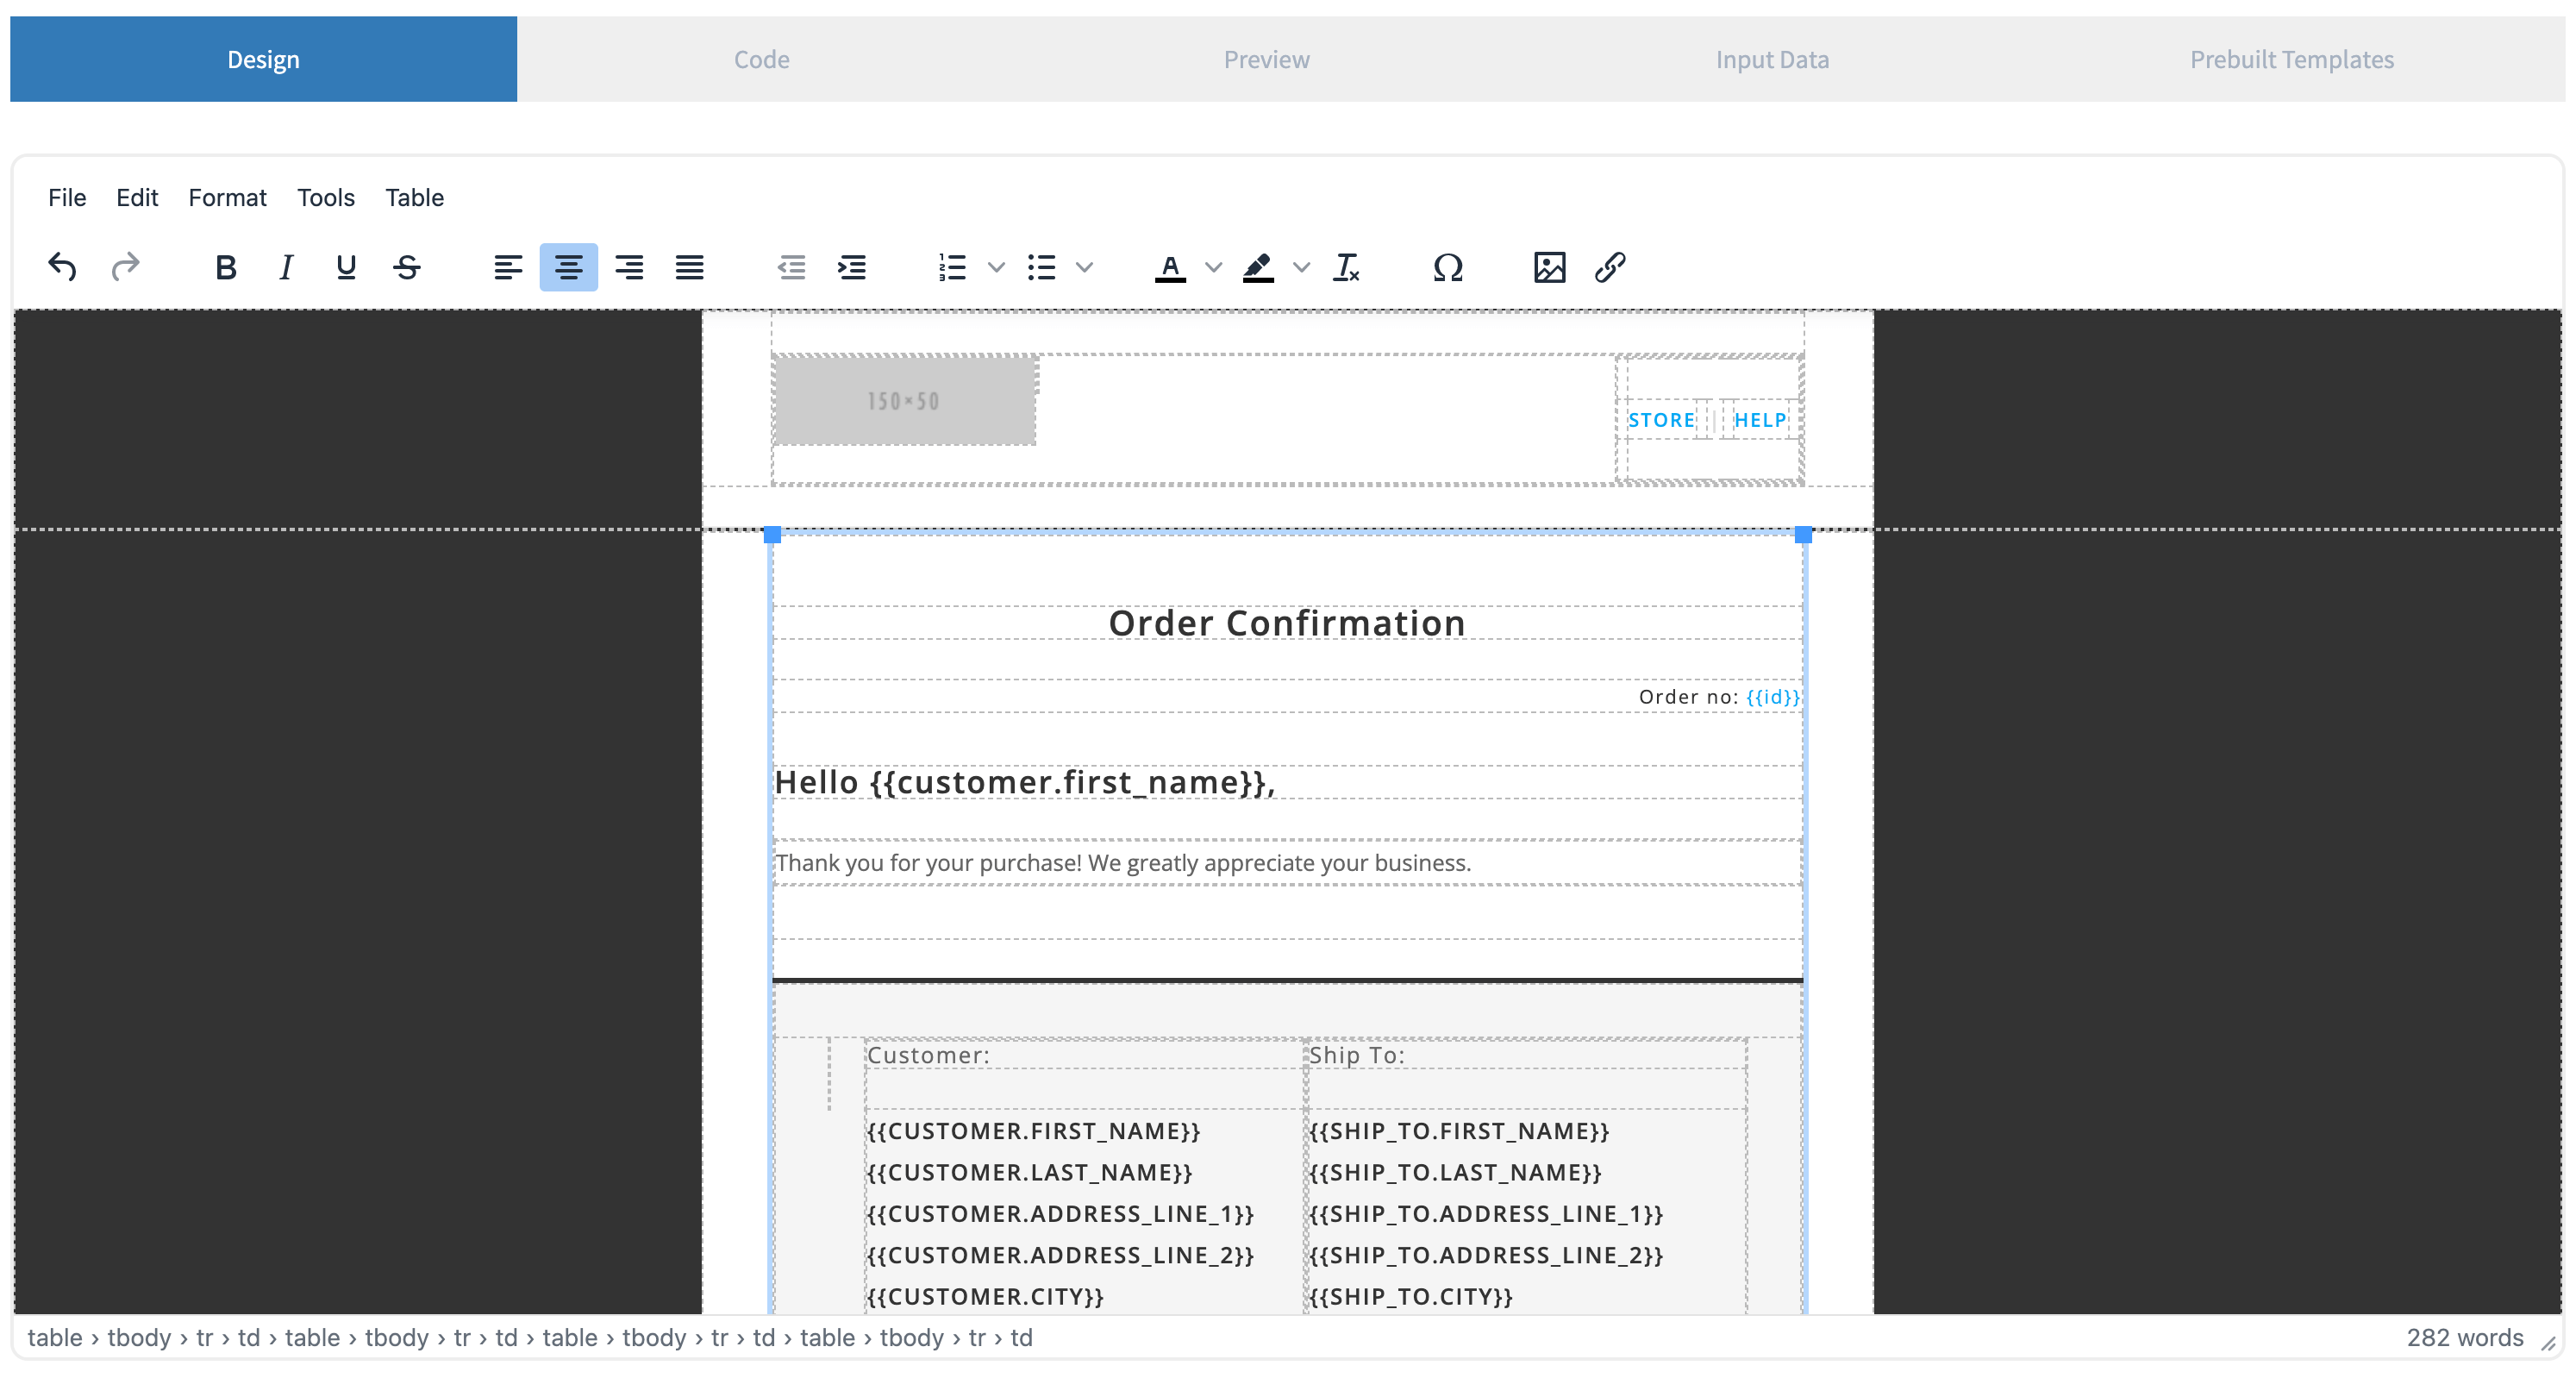
The Design Editor is a WYSIWYG html editor. You can change text, place shortcodes and more using the design editor. Both the Design and Code editors share the same HTML code, and are updated simultaneously when either is modified.
Important: For more complex templating, including handlebars conditionals or iterations, we highly recommend using the Code Editor.
¶ Code Editor
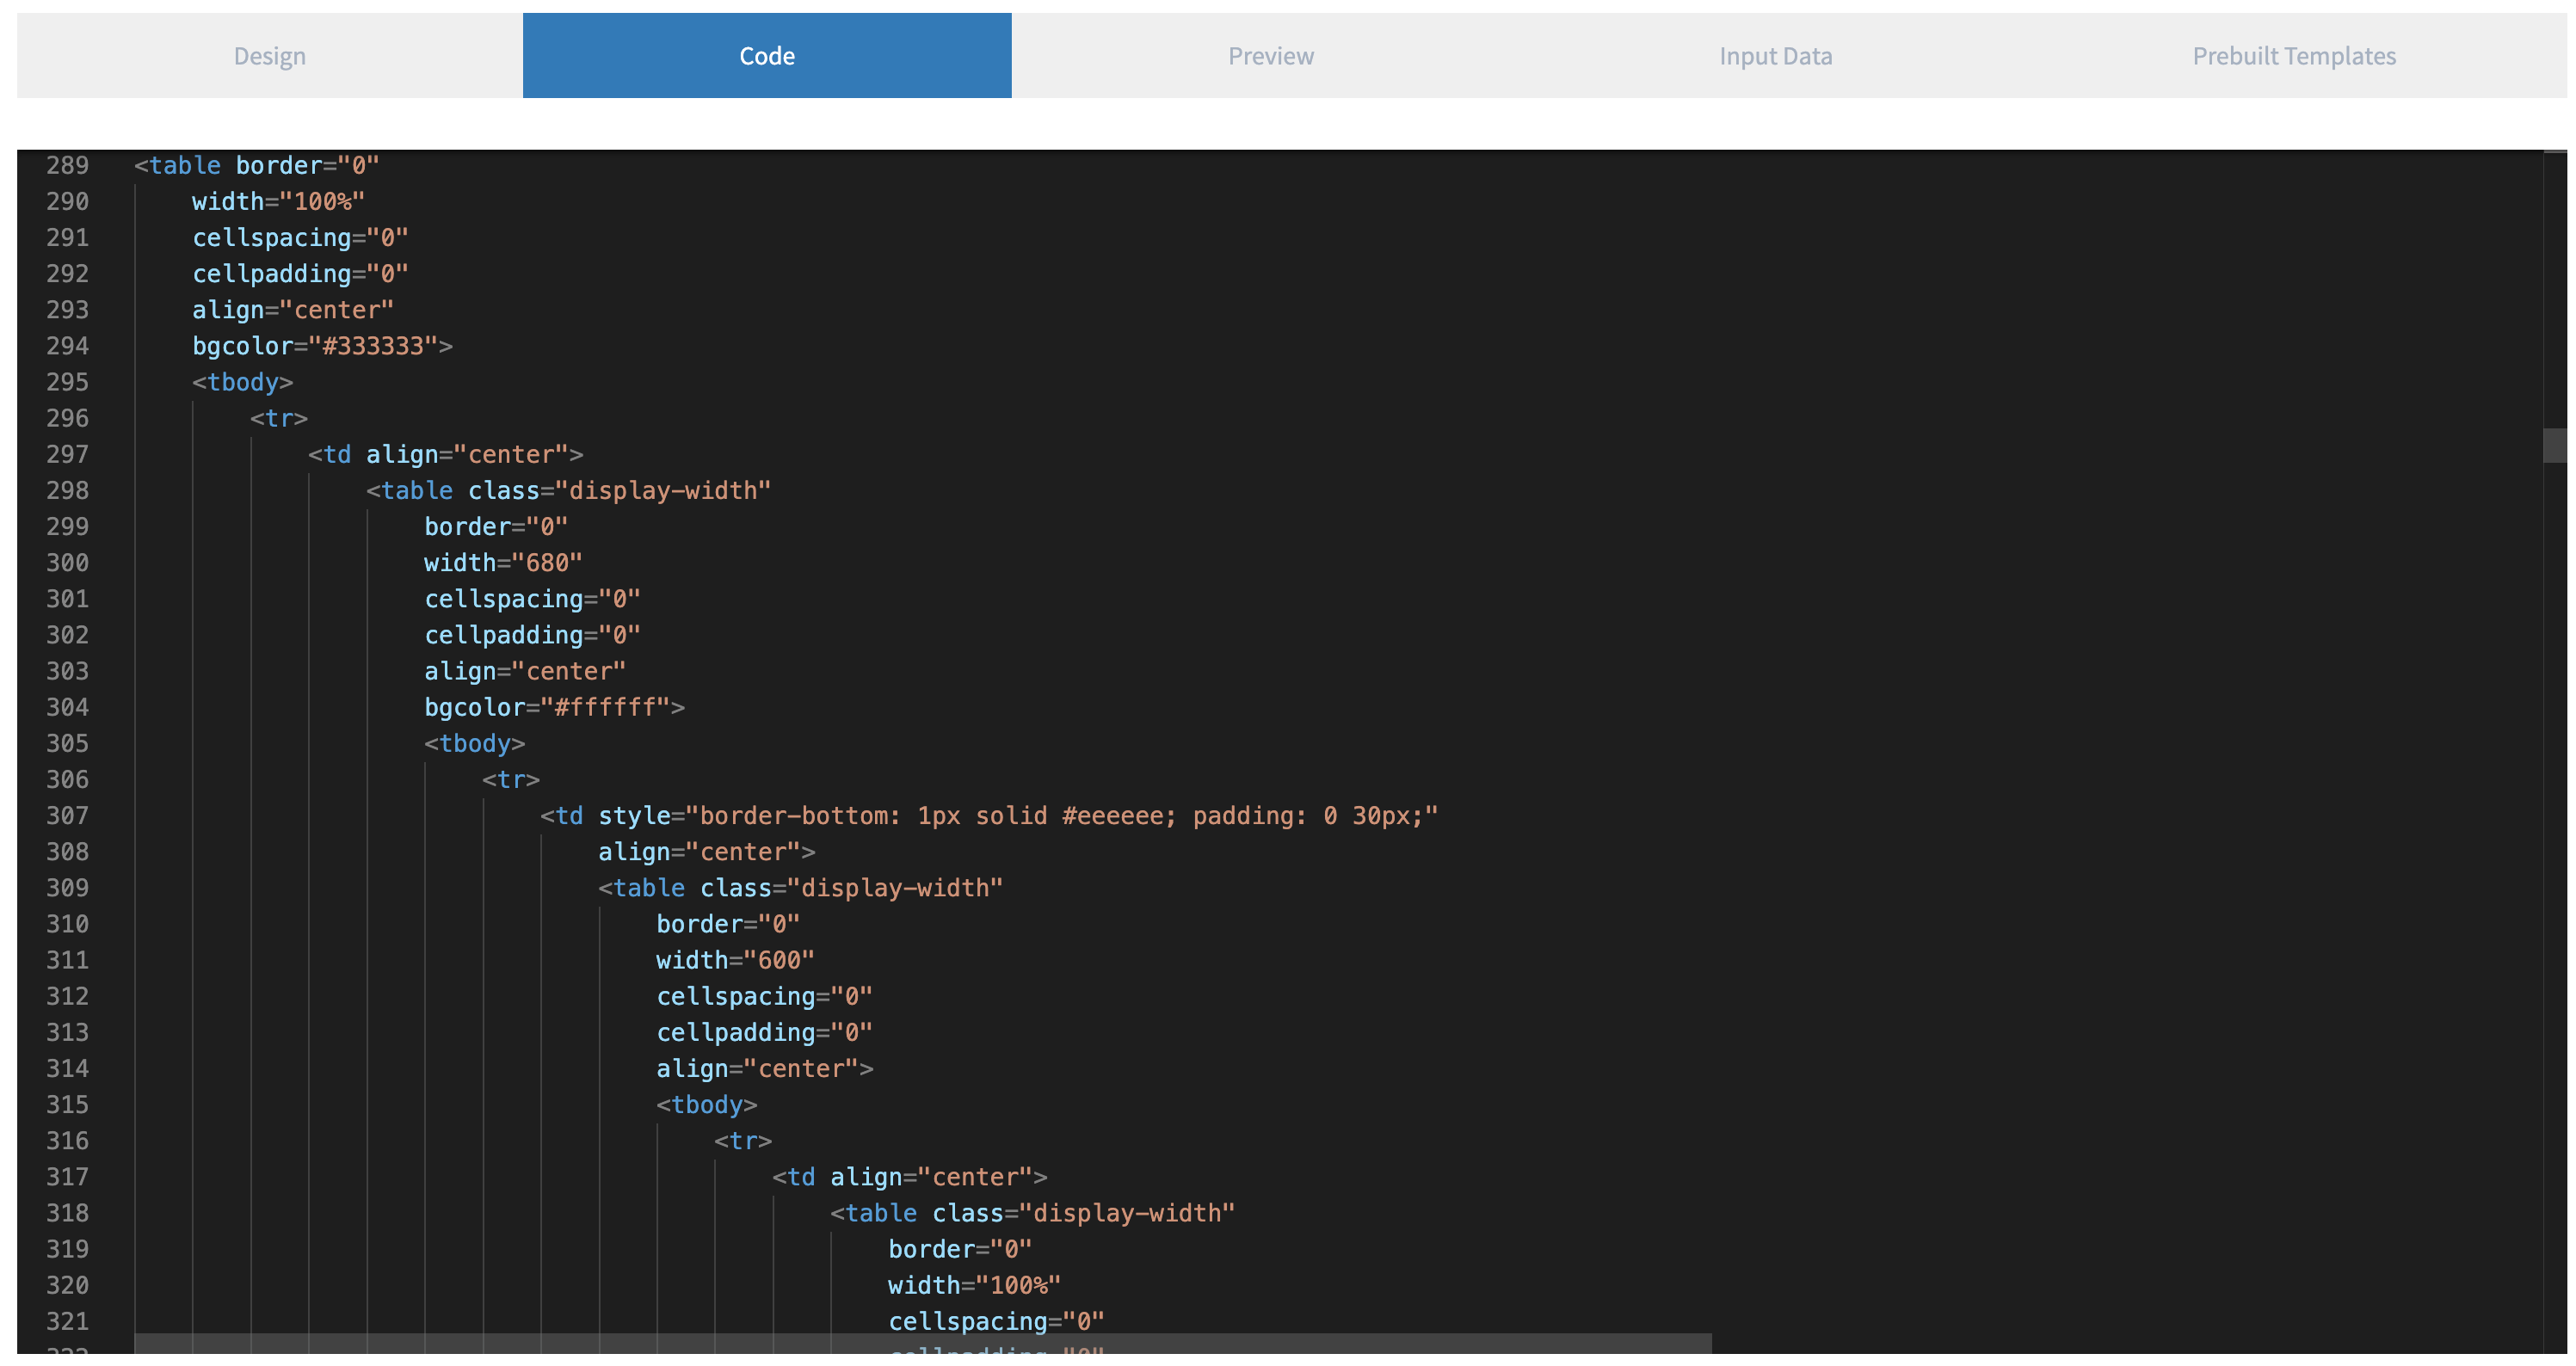
The Code editor is the raw email template code, which is visible in the Design Editor and the rendered in the Preview. Both the Design and Code editors share the same HTML code, and are updated simultaneously when either is modified.
Note: Remote stylesheets and <style> tags are converted to inline styles when the template is compiled before sending to a recipient. Custom fonts may or may not render depending on email recipient.
¶ Preview
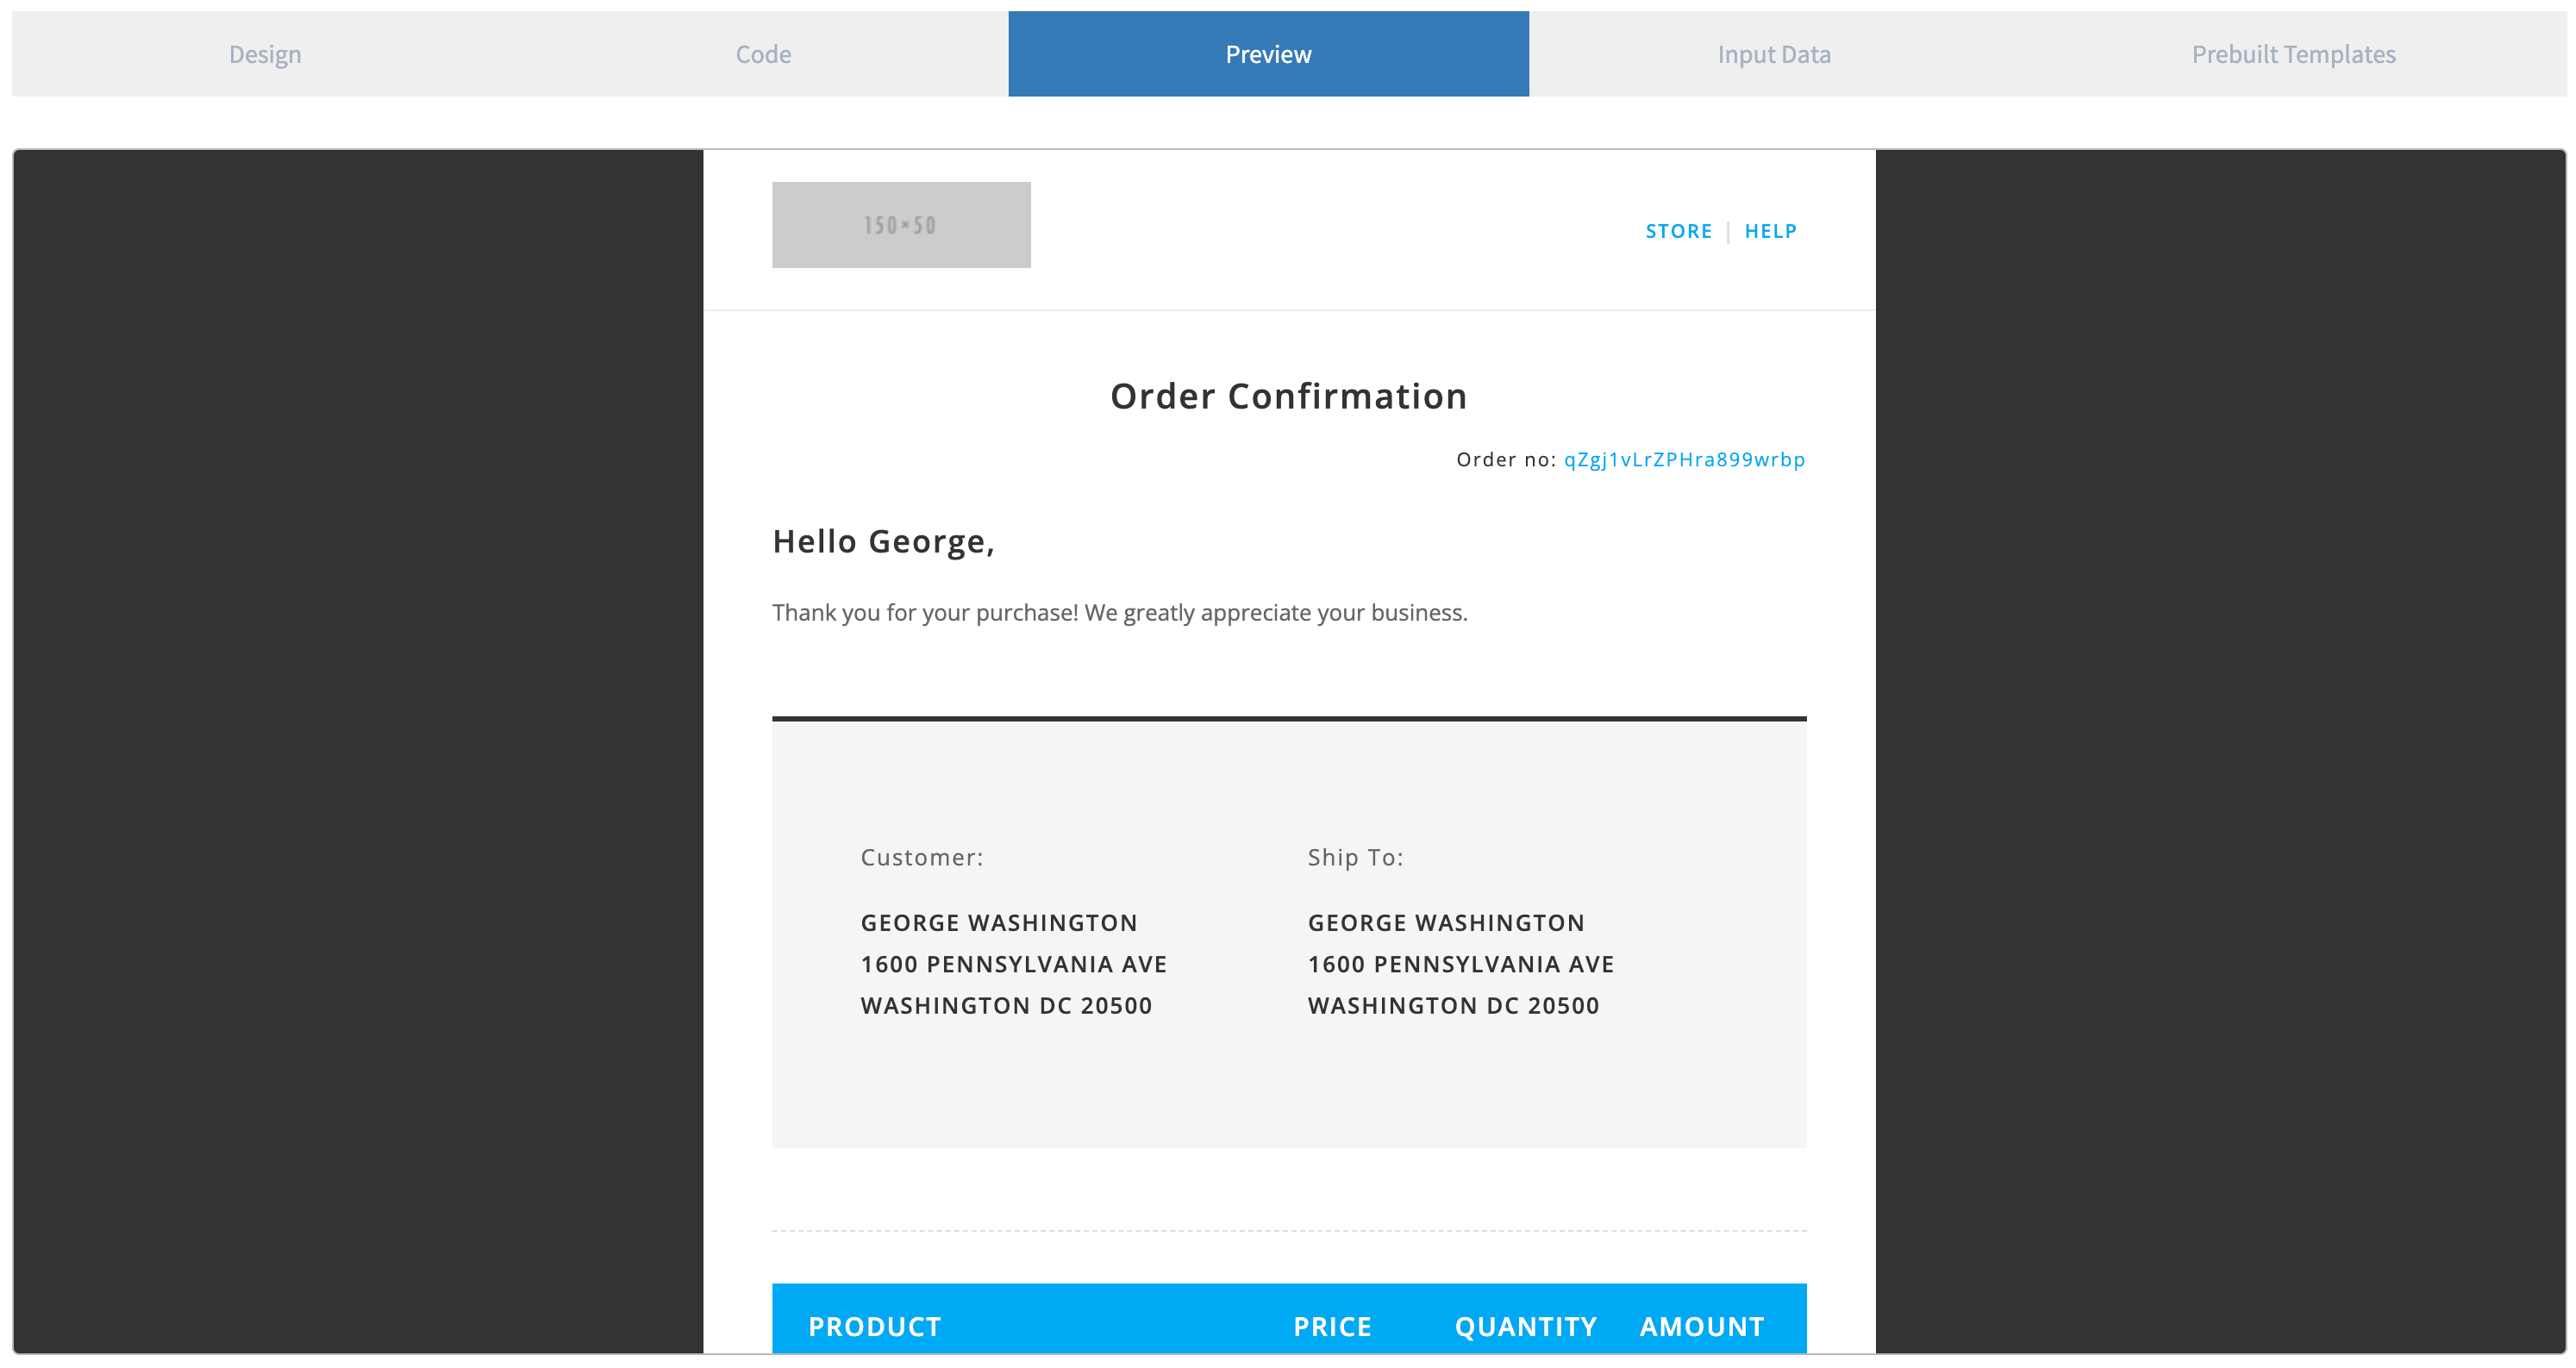
The Preview is the generation of an example email using the Input Data and editor code. This is what the recipient will see with filled in shortcodes using the values in the Input Data. In production, the data being used will be specific to the event and trigger that occurred.
¶ Input Data
The Input Data directly corresponds to the template trigger you have selected. For example, if selecting a “sale” trigger, then the data used for rendering the email will be sale JSON. Select a template trigger first, then view the Input Data to see an example of what the system will use when compiling an email before sending.
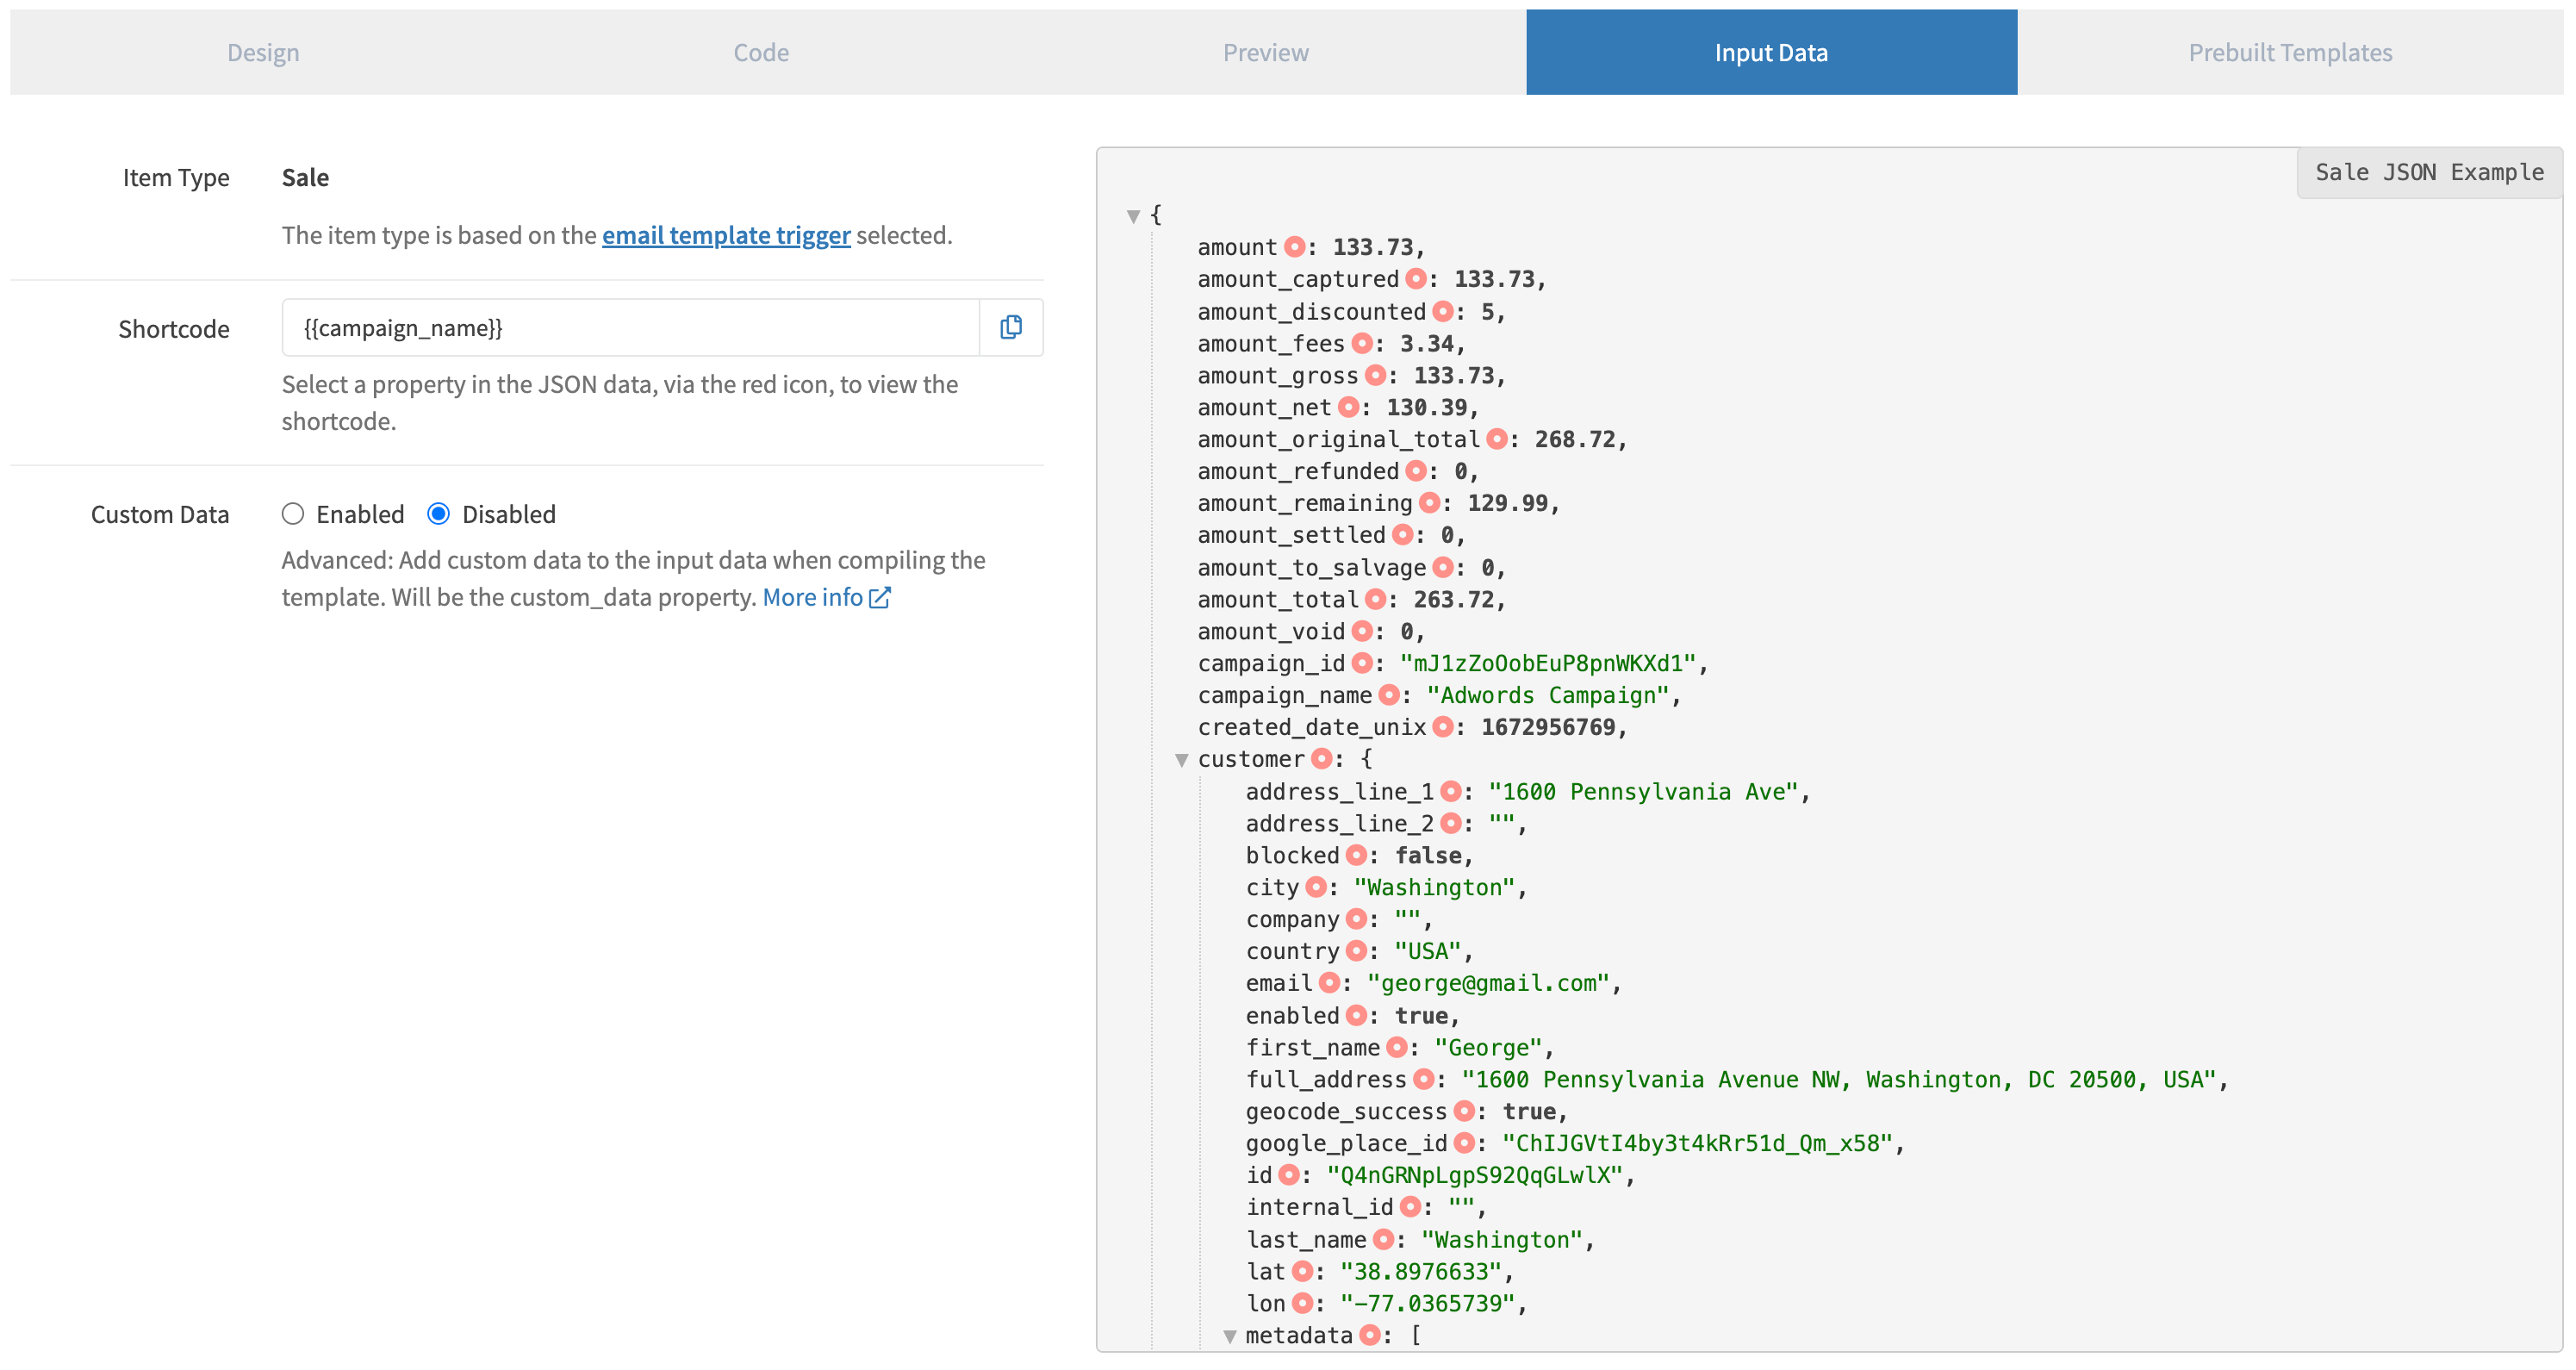
¶ Custom Data
You can add custom data to the Input Data when a template is compiled.
The custom data source can be either a JSON object inputted by you, or a JSON object returned from a function. If enabling custom data, the “custom_data” property will appear and be available in the handlebars shortcode syntax.

¶ Custom Data: JSON Object
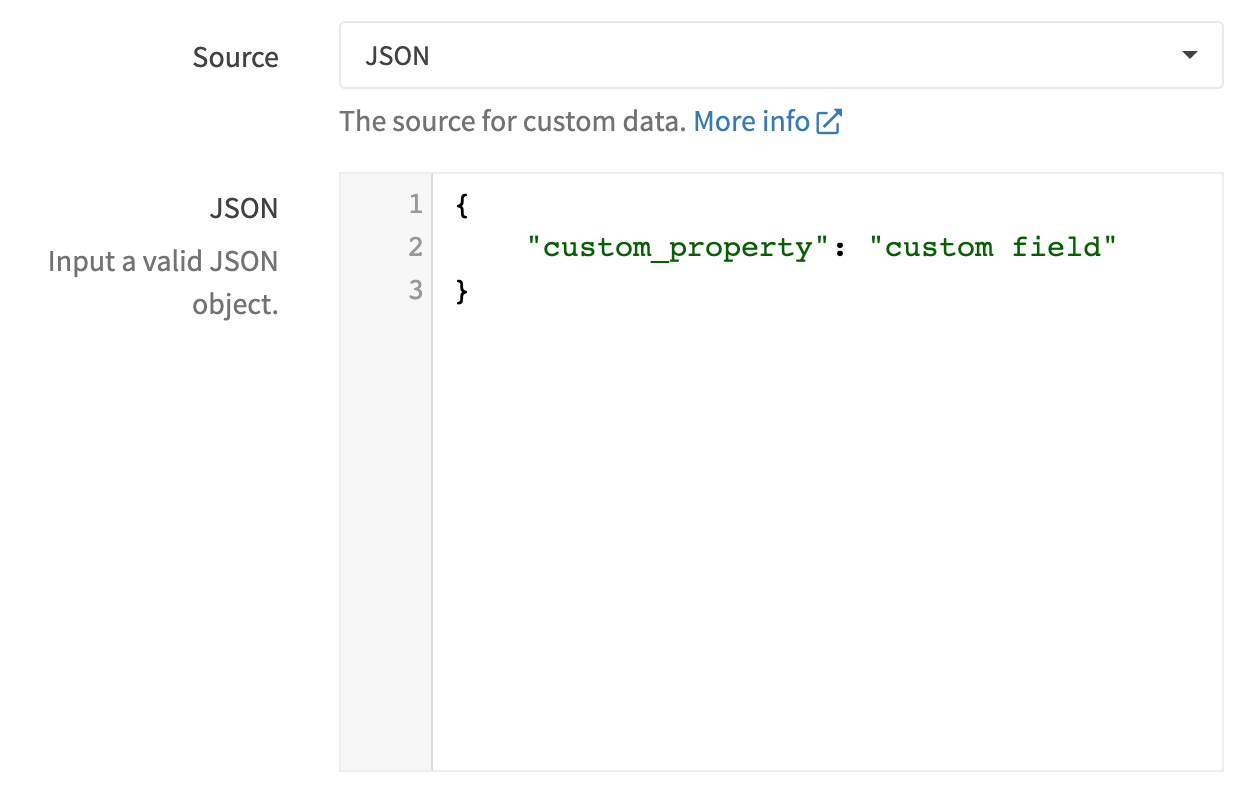
Input a valid JSON object into the JSON editor. This JSON data will be available in the handlebars syntax via custom_data.
In the example image below, {{custom_data.custom_property}} will output “custom field”.
¶ Custom Data: RevCent Function
You have the ability to generate custom data during template compilation via a RevCent Function. The function must have an Email Template trigger type. The function will receive the item details corresponding to the Input Data, allowing you to return custom JSON data based on the Input Data during compilation. The return JSON object will be accessible via handlebars using {{custom_data.XXXX}}, where XXXX is a property within the JSON object returned from the function.
Important: The function must return a valid JSON object in order to be amended to the Input Data as custom_data, i.e. callback(null, {"custom_property": “custom value”});
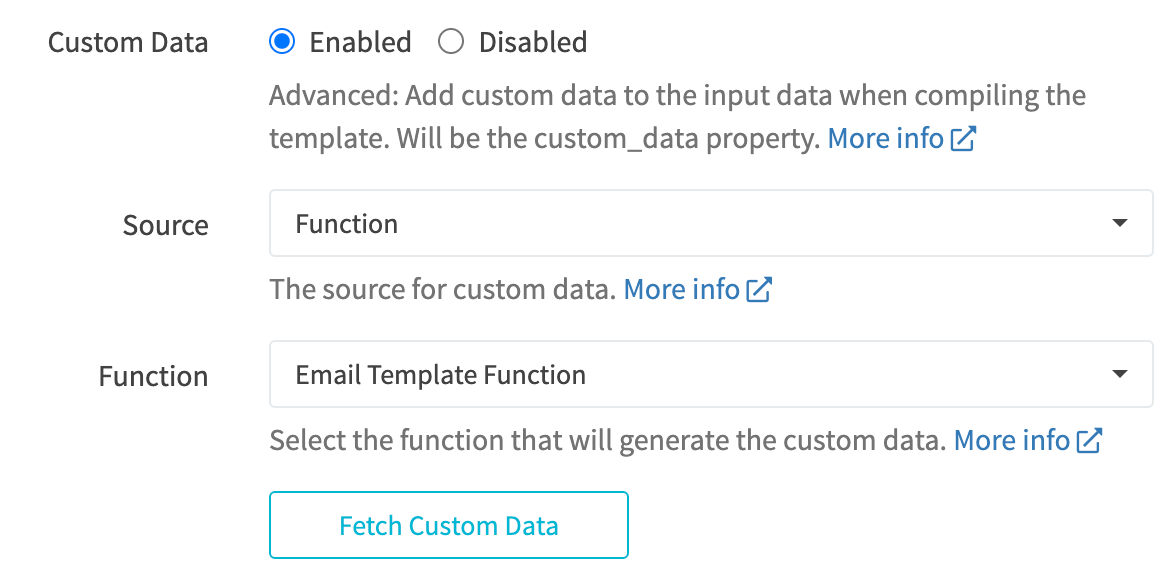
¶ Custom Data Function Example
Let's say you have an email template which triggers when a new sale is created. The item type for the template will be a Sale, as the item type corresponds to the trigger. Now, if you enabled custom data, and the source is a function, the function will receive the details of the specific sale that triggered the email template. The details are accessible in the function via the event.data.item_details object.
- The email template is triggered for a new sale.
- The base Input Data for handlebars is the details of the sale, i.e. a sale event.
- A function is called, which receives the same sale event object accessible in the function via
event.data.item_details - The function runs and returns a JSON object.
- The JSON object returned from the function is amended to the handlebars Input Data as the “custom_data” property.
Input Data for a Sale Trigger is a Sale Event, redacted for brevity.
{
    "amount_captured": 12,
    "customer": {
      "address_line_1": "1600 Pennsylvania Ave",
      "address_line_2": "",
      "blocked": false,
      "city": "Washington",
      "company": "",
      "country": "USA",
      "email": "george@gmail.com"
    }
    ....
}
Example Function Code. The same Input Data is also supplied to the function via event.data.item_details
let customer_email = event.data.item_details.customer.email; // will be george@gmail.com

let custom_data = {
    'my_custom_field': 'A custom value',
    'email_capitalized': customer_email.toUpperCase(),
    'email_local_part': customer_email.split('@')[0],
    'customer_email': customer_email
};

callback(null, custom_data);
New Input Data with custom_data object inserted. The function generated additional data for the email template to use. {{custom_data.my_custom_field}} would output “A custom value” when compiled.
{
    "amount_captured": 12,
    "custom_data": {
    	"my_custom_field": "A custom value",
    	"email_capitalized": "GEORGE@GMAIL.COM",
    	"email_local_part": "george",
    	"customer_email": "george@gmail.com"
    },
    "customer": {
      "address_line_1": "1600 Pennsylvania Ave",
      "address_line_2": "",
      "blocked": false,
      "city": "Washington",
      "company": "",
      "country": "USA",
      "email": "george@gmail.com"
    }
    .....
}
The above a very simple example of what the custom_data via a RevCent Function can do.
Some advanced uses:
- Generate product recommendations to show in the email based on what the customer purchased.
- Create a custom coupon code on the fly based on the amount the customer purchased in the sale. Even name it after the customer, i.e. George25 for 25% off. Include it in the email.
¶ Custom Arguments
If triggering the email template via the RevCent API or as part of an AI System Tool, you have the option to include custom arguments. This is especially useful for AI as custom arguments allow the AI to pass dynamically generated information into the email template. You specify the name and description of each argument and the AI does the rest. It is important to write the description of a custom argument in a way that the AI will understand what you want outputted.
If you wanted to include the custom arguments in your email, you would access it via the {{custom_arguments.*}} handlebars in your template, where * is a custom argument.
Important: Please read more in detail about Custom Arguments.
¶ Prebuilt Templates
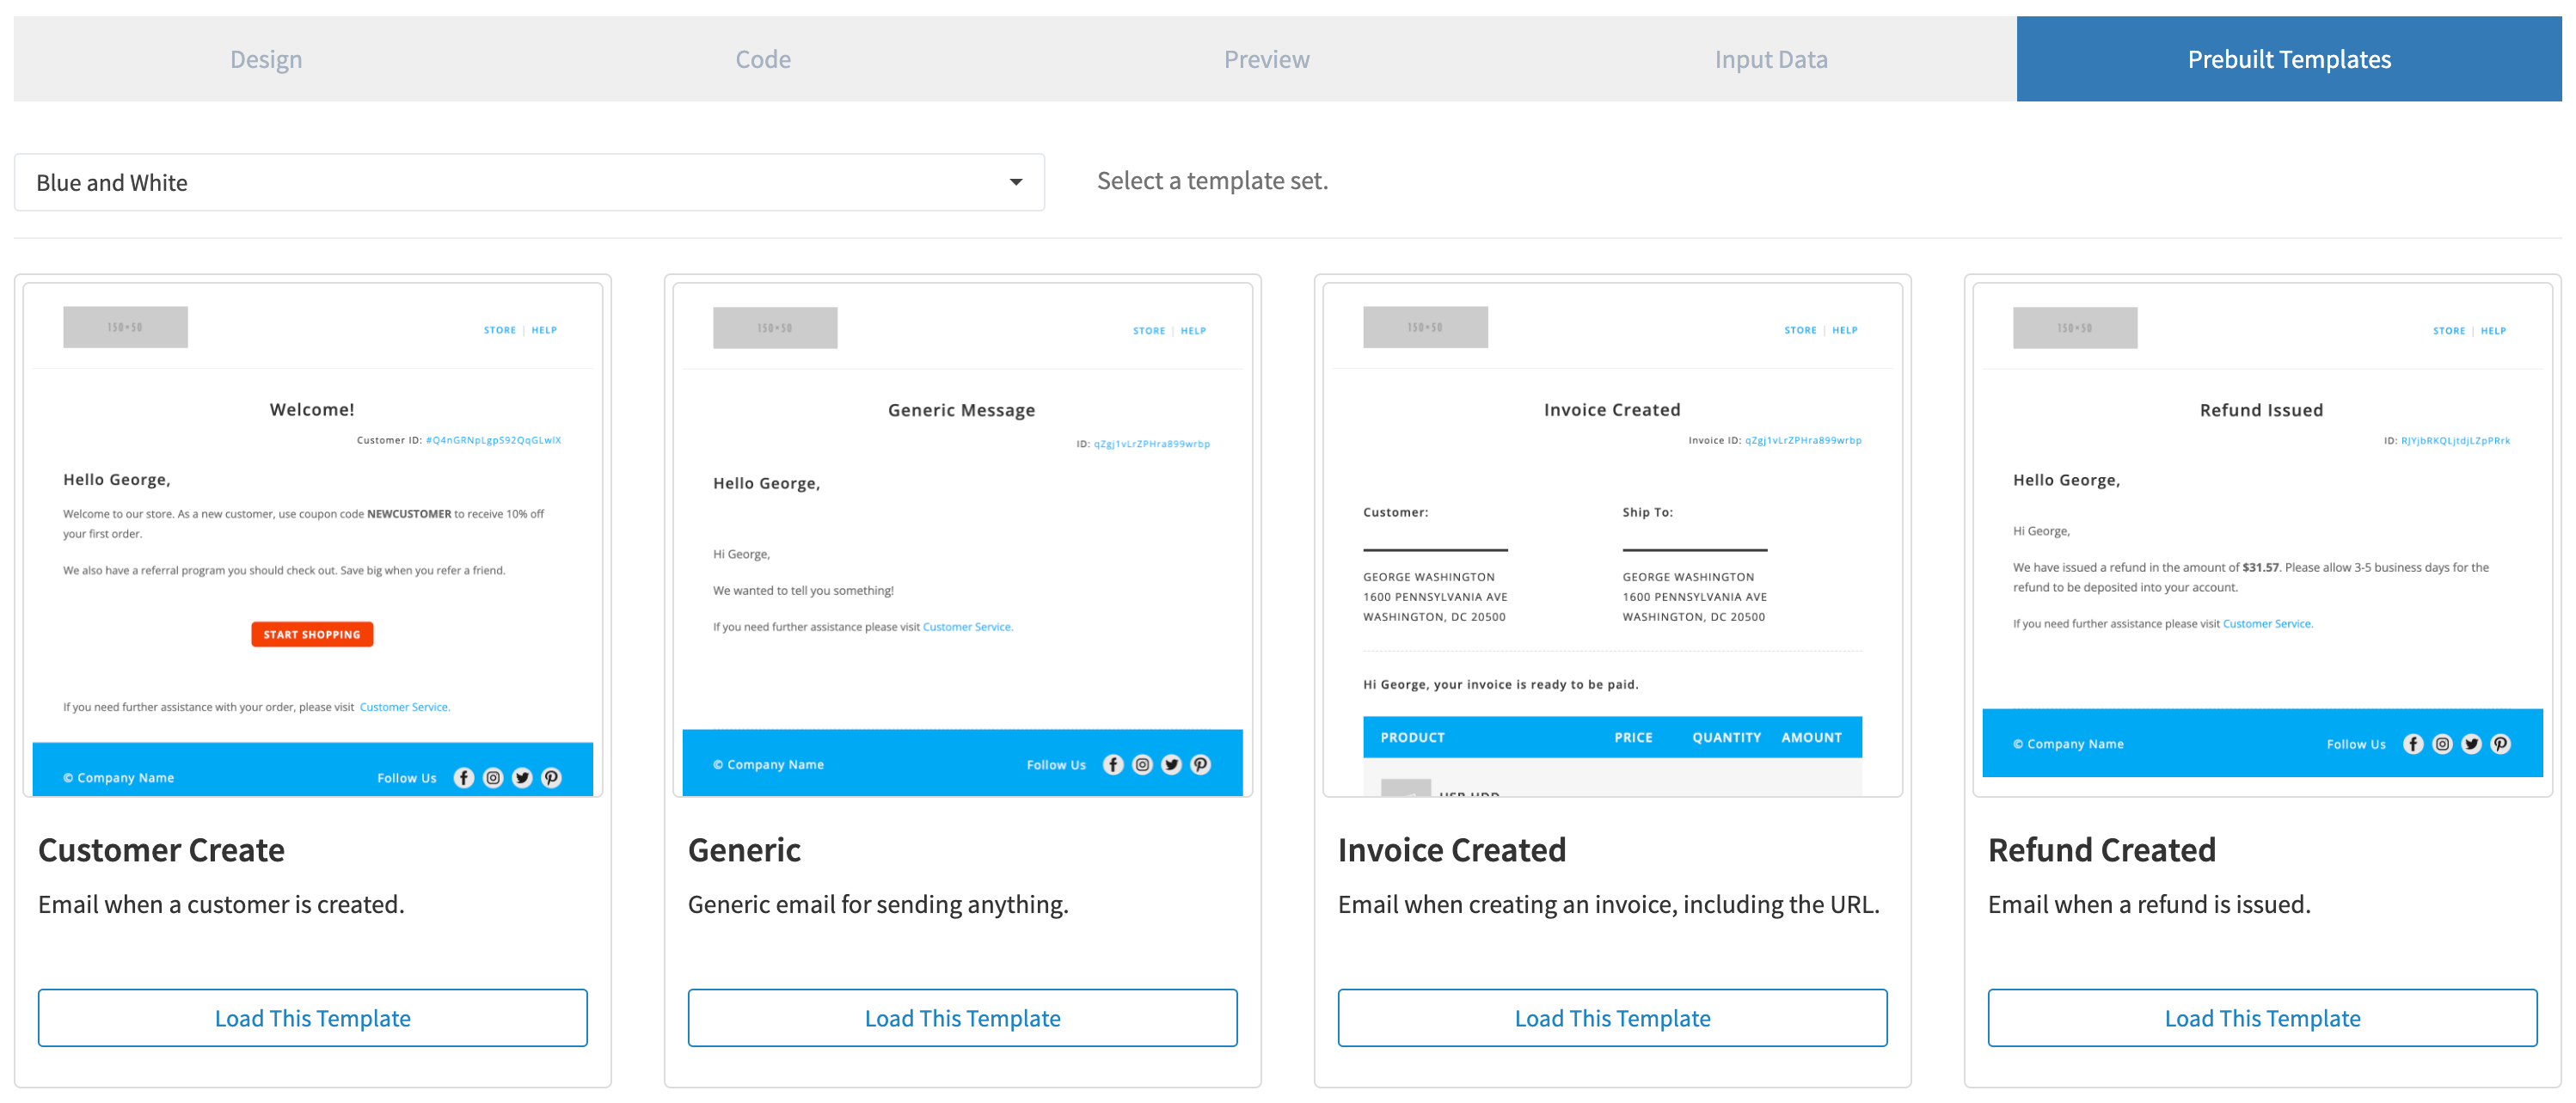
We have provided some email templates pertaining to most of the template triggers available. Select a trigger, load the corresponding template and you are ready to go. Change the logo and style using the Design or Code editors.
¶ Email Template Triggers
Triggers for sending an email including applicable timing and descriptions.
¶ Available Triggers
| Trigger | Applicable Timing | Description | Input Data Examples View Event > item_details |
|---|---|---|---|
| Direct | |||
| No Trigger | Immediate | Select No Trigger if a draft or using the email template within an external process. | |
| Flow | Immediate | Select Flow if using the email template as part of a flow action node. | Customer or Sale |
| API/AI | Immediate | Trigger the template to send an SMTP message via the RevCent API or AI through AI Web Chat or AI Assistants. AI can trigger an email template via System Tools and provide custom arguments to the template when triggered. | |
| Events | |||
| AI Memo Created |
Immediate Specific > After |
An AI Assistant created an AI Memo. | AI Memo |
| Customer Created |
Immediate Specific > After |
A customer was created using the customer create method, not due to a new sale. | Customer |
| Fraud Detection Created | Immediate | A fraud detection was created and attached to a sale. | Fraud Detection |
| Invoice Create Success |
Immediate Specific > After |
An invoice was created with a unique URL. | Invoice |
| Pending Refund Created |
Immediate Specific > After |
A pending refund was created. | Pending Refund |
| Sale Success |
Immediate Specific > After |
A sale was created and payment was successful. | Sale |
| Sale Fail |
Immediate Specific > After |
A sale was created, but all payment attempt(s) failed either due to error or decline. | Sale |
| Sale Fraud Alert | Immediate | A sale was created, either successfully or not, and fraud was detected. However, payment was not prevented and therefore a Fraud Detection was not created. Instead, the sale was marked with a fraud alert allowing manual review. | Sale |
| Sale Pending No Payment |
Immediate Specific > After |
A pending sale was created, however no payment attempt(s) were ever made. I.e. abandoned cart. | Sale |
| Sentinel Alert | Immediate | A sentinel fraud detection occurred. | Sentinel |
| Shipping Item Created | Immediate | A shipment was created in RevCent. Useful for emailing a warehouse. | Shipping |
| Shipping Item Shipped | Immediate | A shipment was marked as shipped, either via web, API or fulfillment. | Shipping |
| Shipping Item Delivered | Immediate | A shipment was delivered according to the shipping provider tracking number. | Shipping |
| Shipping Item Voided | Immediate | A shipment was voided and or cancelled. Useful for emailing a warehouse. | Shipping |
| Subscription Renewal Success |
Immediate Specific > After |
A subscription renewal payment was successful. | Subscription |
| Subscription Renewal Fail |
Immediate Specific > After |
A subscription renewal payment failed due to error or decline. | Subscription |
| Subscription Renewal Upcoming | Specific > Before | A subscription renewal payment attempt is upcoming. | Subscription |
| Trial Expire Success |
Immediate Specific > After |
A trial expiration was successful. | Trial |
| Trial Expire Fail |
Immediate Specific > After |
A trial expiration failed due to error or decline. | Trial |
| Trial Expire Upcoming | Specific > Before | A trial expiration is upcoming. | Trial |
¶ Email Template Timing
Specify the timing for sending the email relative to the trigger.
¶ Immediate
Email will be sent immediately upon the trigger occurring.
¶ Specific
Email will be sent depending on trigger and time settings.

¶ Time Relative
The time relative to the trigger to send the email.
Options:
- Before Trigger
- After Trigger
¶ Time Unit
The time unit.
Options:
- Hours
- Days
- Weeks
- Months
- Years
¶ Time Value
The time value, when combined with the time unit specifies the specific timing to send the email relative to the event.
¶ Specific Timing Examples
¶ Example 1
You want to send an email three hours after a new sale.
Time Relative: After Trigger
Time Unit: Hours
Time Value: 3
¶ Example 2
You want to send an email 1 day before a subscription renewal.
Time Relative: Before Trigger
Time Unit: Days
Time Value: 1
¶ Email Template Settings
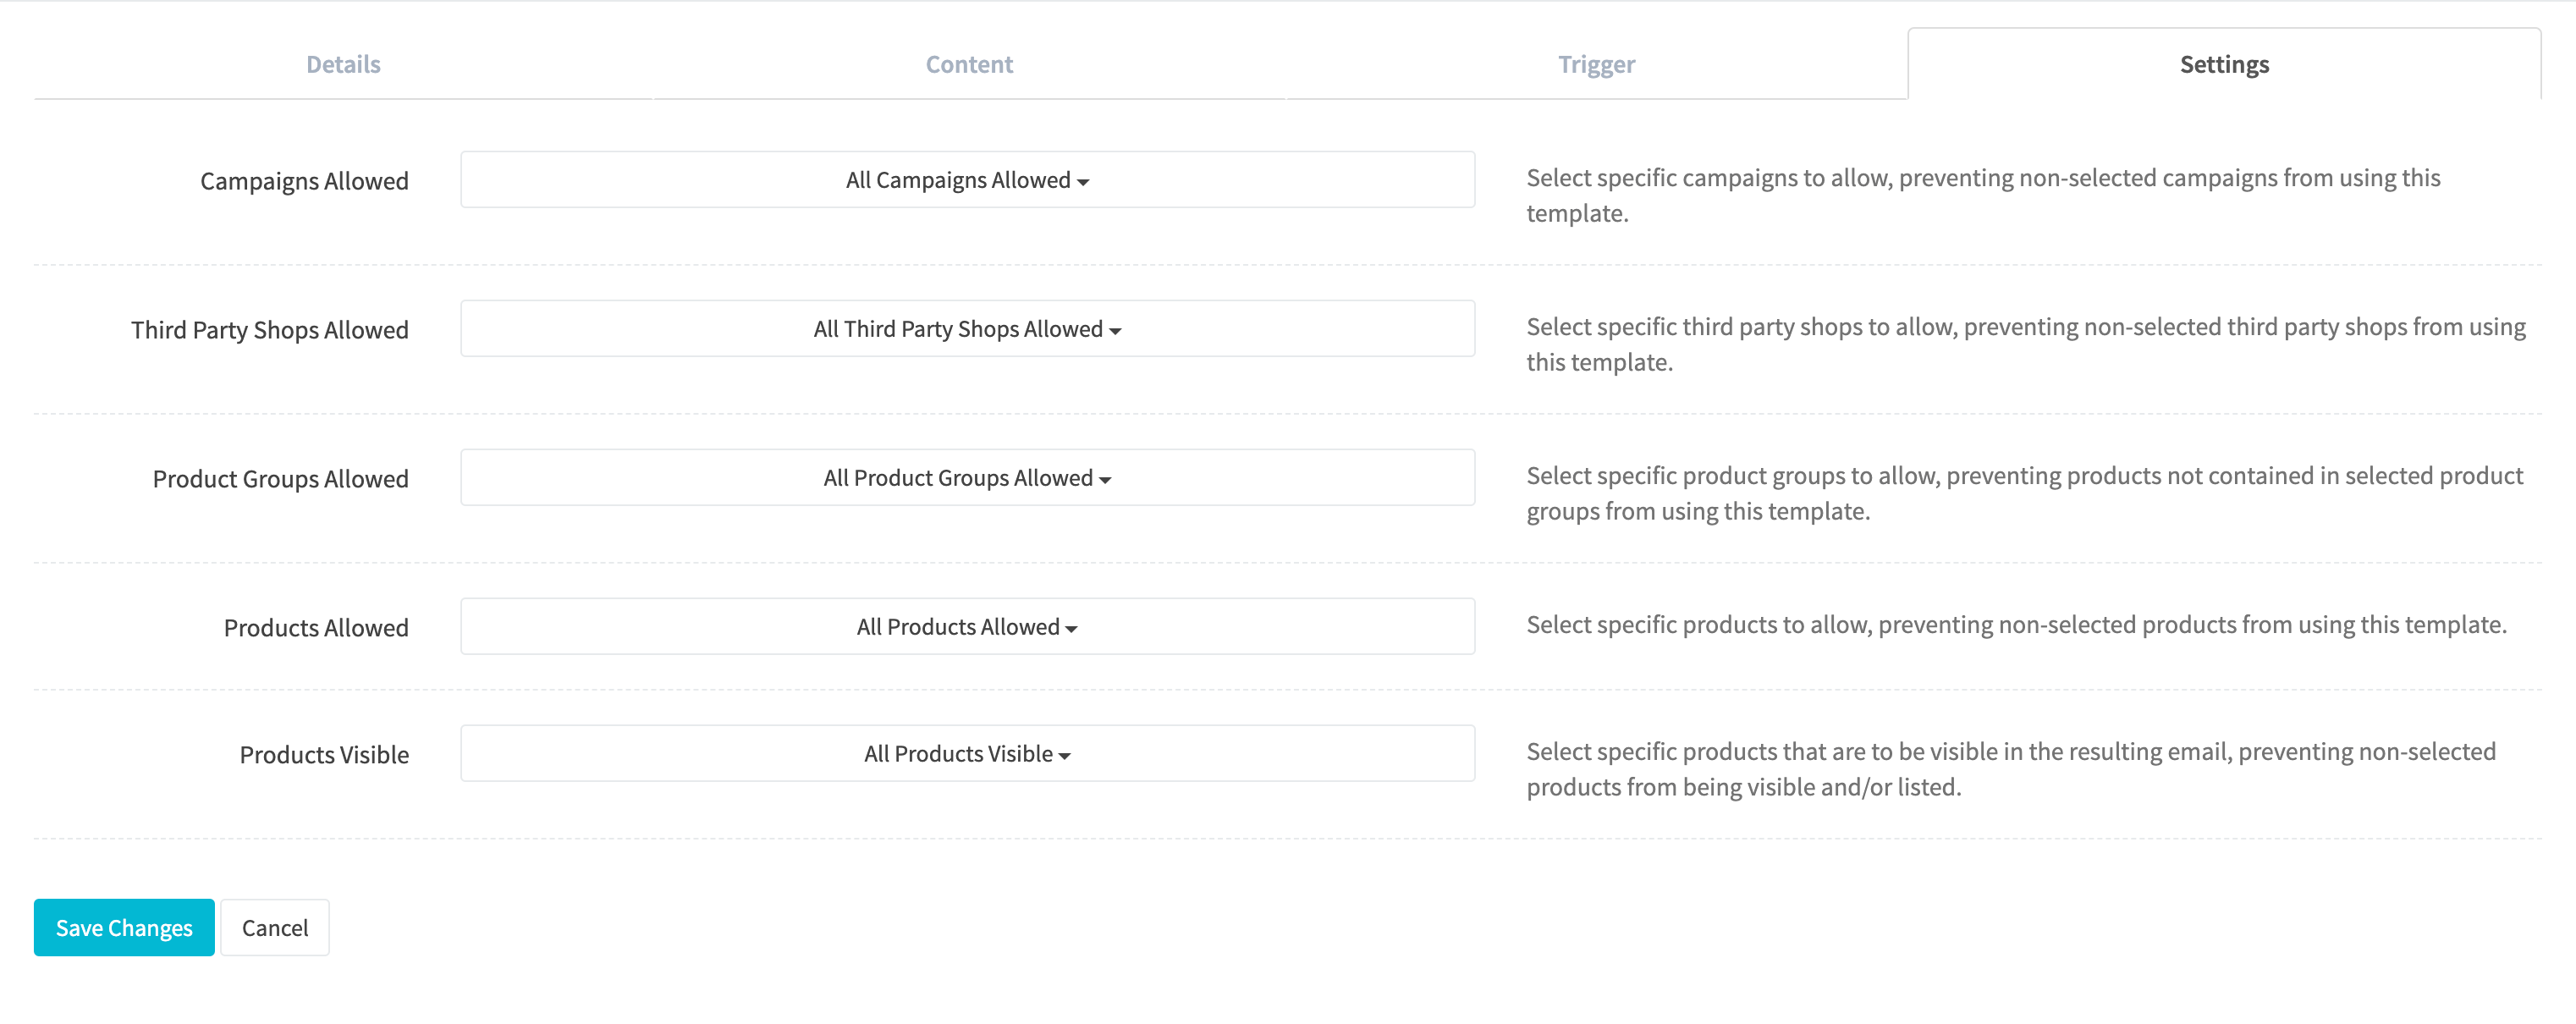
¶ Trigger
The event that will trigger the email to be sent. Read more about triggers in the Email Template Triggers section.
¶ Campaigns Allowed
Select specific campaigns to allow, preventing non-selected campaigns from using this template.
¶ Third Party Shops Allowed
Select specific third party shops to allow, preventing non-selected third party shops from using this template.
¶ Product Groups Allowed
Select specific product groups to allow, preventing products not contained in selected product groups from using this template.
¶ Products Allowed
Select specific products to allow, preventing non-selected products from using this template.
¶ Products Visible
Select specific products that are to be visible in the resulting email, preventing non-selected products from being visible and/or listed.
¶ Additional Shortcodes
Additional shortcodes can be used in the subject and body of the email.
Important: Shortcodes must be surrounded by double curly braces when placing into the subject or body of an email template.
| Shortcode | Applicable Trigger(s) | Description |
|---|---|---|
| {{item_date}} | All | The date the item relative to the trigger was created. I.e. sale date, renewal date, etc. |
| {{date_now}} | All | The current date when the email is sent. |
| {{flow_id}} | Flow | The ID of the flow that triggered the template. |
| {{flow_name}} | Flow | The name of the flow that triggered the template. |
| {{flow_run_id}} | Flow | The flow run ID that triggered the template. |
| {{flow_node_id}} | Flow | The ID of the node that triggered the template. |
| {{flow_process_id}} | Flow | The flow process ID. |
| {{flow_prior_process_id}} | Flow | The prior process ID. |