Product
Overview of products within RevCent
Overview
The Product within RevCent is the core of every sale, and is required when creating a sale.
A product also has the related Product Group entity. You can attach a product group to a product either during creation or when editing.
Product
Every sale requires at least one product, and depending on the being product sold, a sale can spawn entities related to product.
A product can be a regular product, shippable product, subscription product, trial product, usage/metered product or a combination.
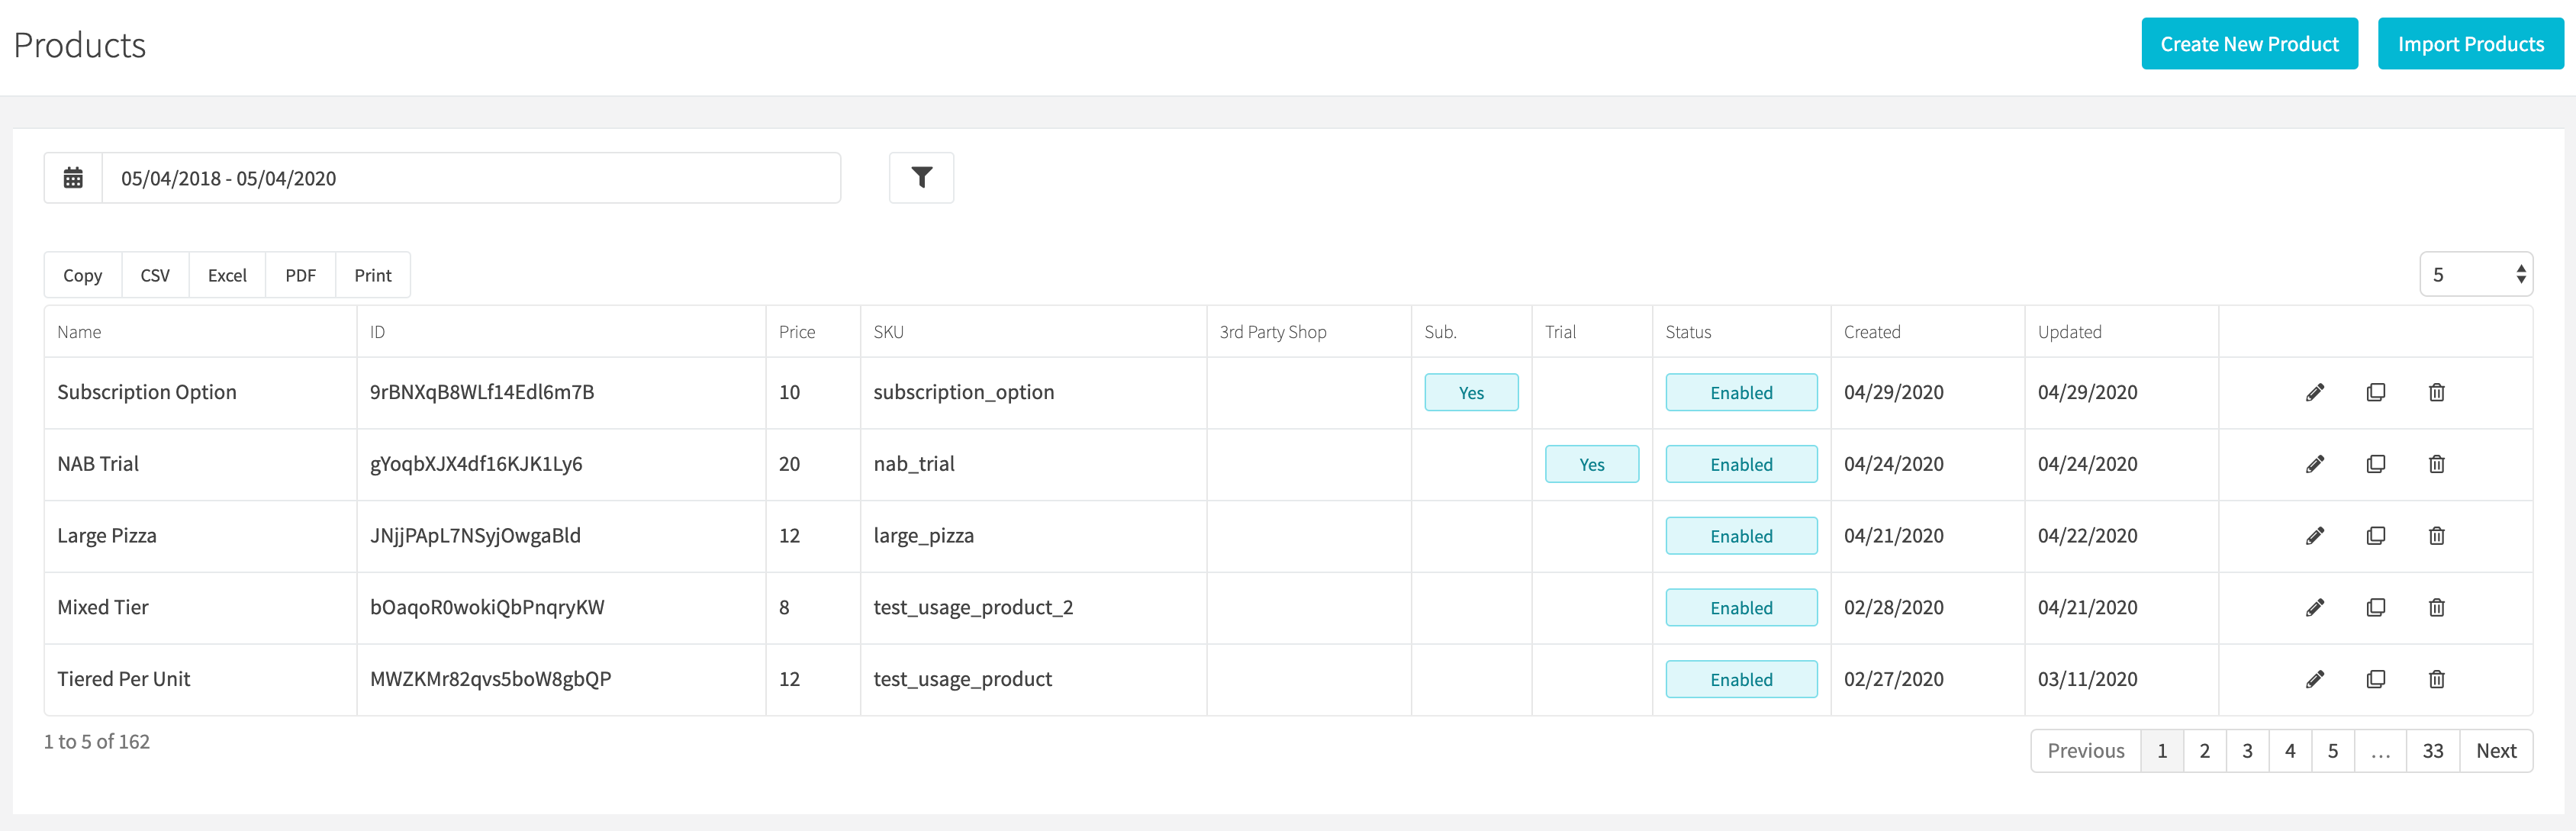
View Products
View all products by clicking the Products > All Products link in the sidebar or go to https://revcent.com/user/products
Create Or Edit A Product
You can manually create an individual product by clicking Products > Create in the sidebar, clicking New product when viewing all products, or going to https://revcent.com/user/new-product.
Edit an existing product by clicking the edit button when viewing all products.
Import Products: If you need to import multiple products either via CSV or remotely, please view the Import Products section below.
Basic Details
Open the Details tab to enter the product’s basic information.
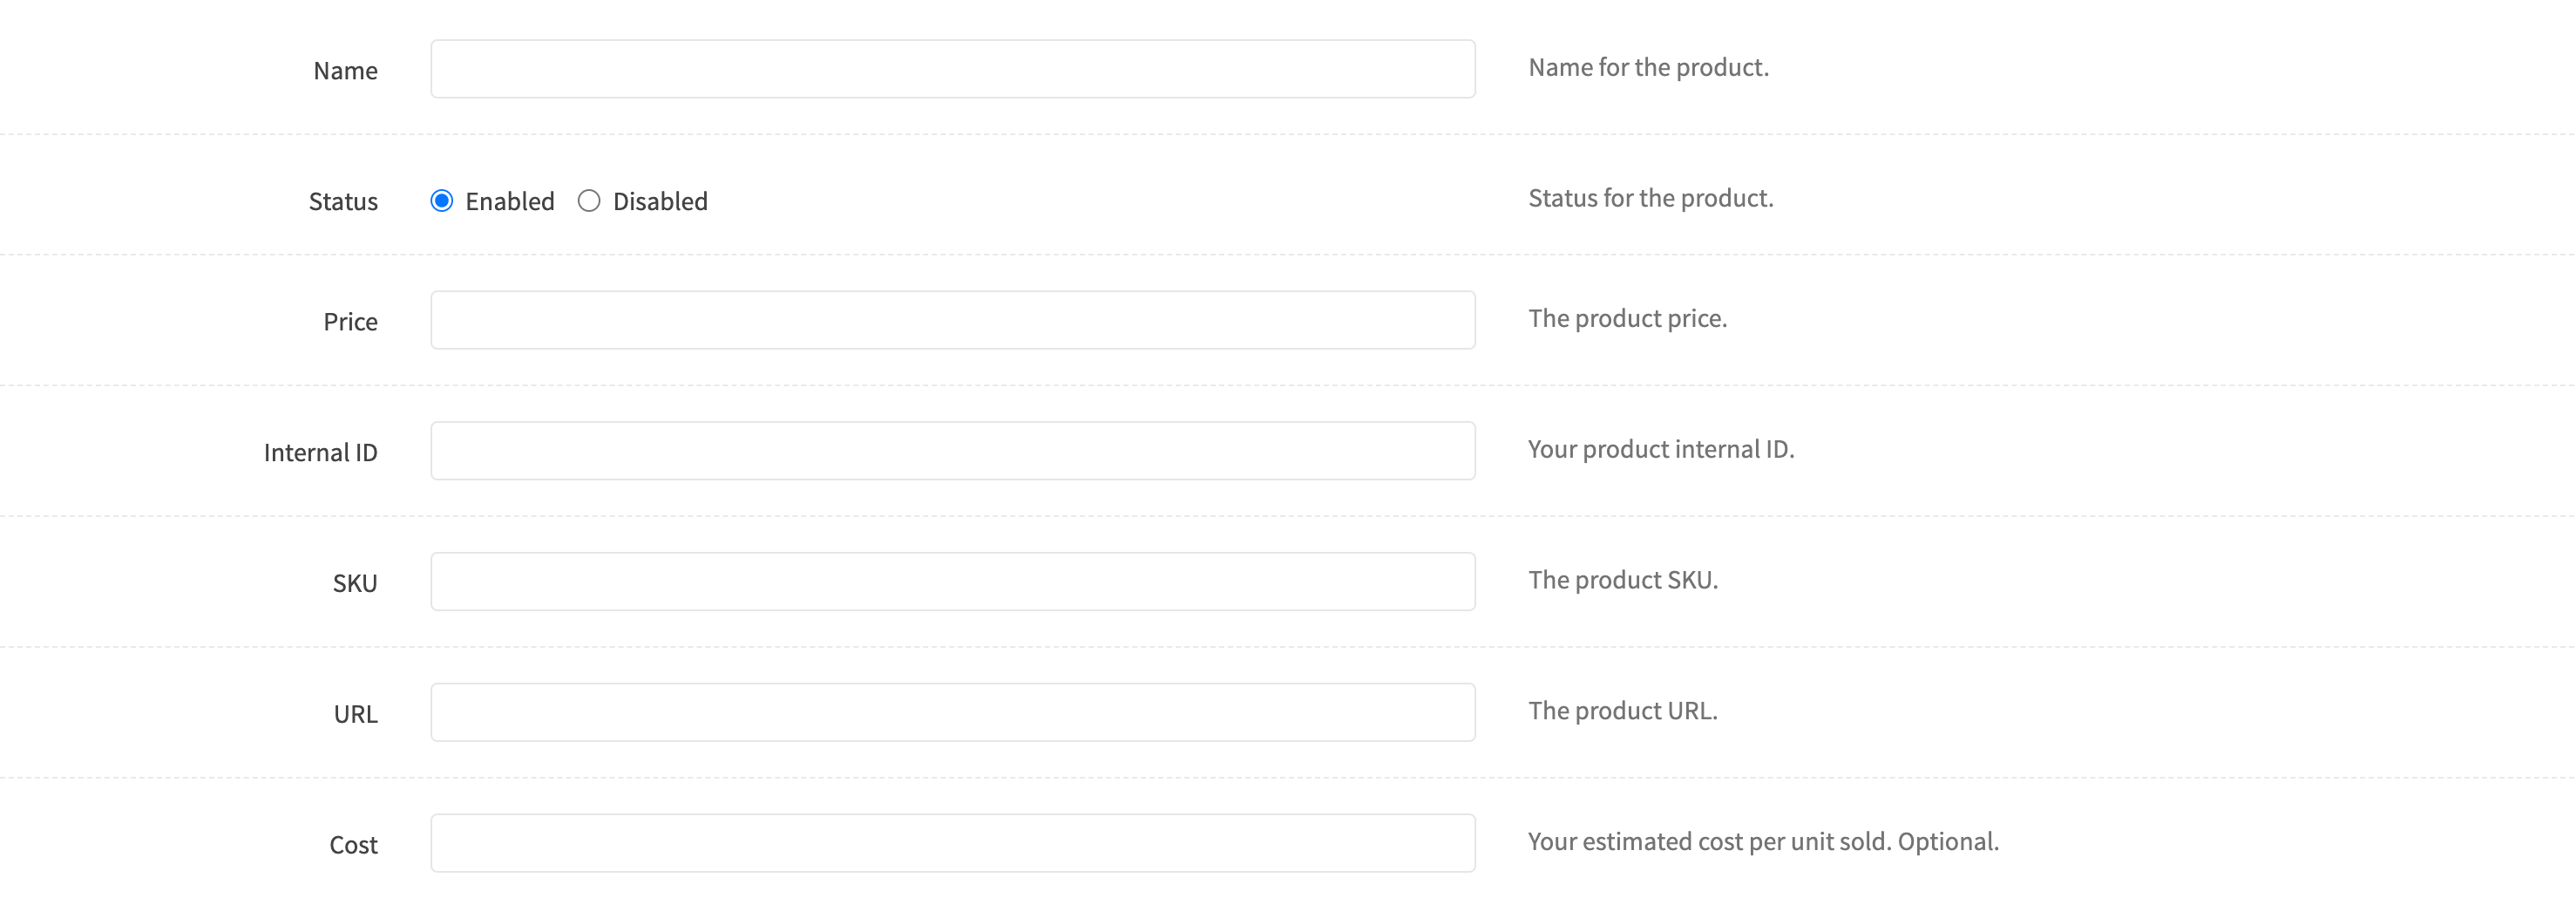
Name
Enter a name for the product. Required.
Description
Enter a description for the product.
Status
Use the Enabled switch to set the status of the product.
Price
Enter the sale price of the product. Required.
Internal ID
Enter an internal ID in the Internal reference field.
SKU
Enter the SKU of the product.
URL
Enter the URL of the product.
Cost
Enter your estimated cost per unit sold.
Type Options
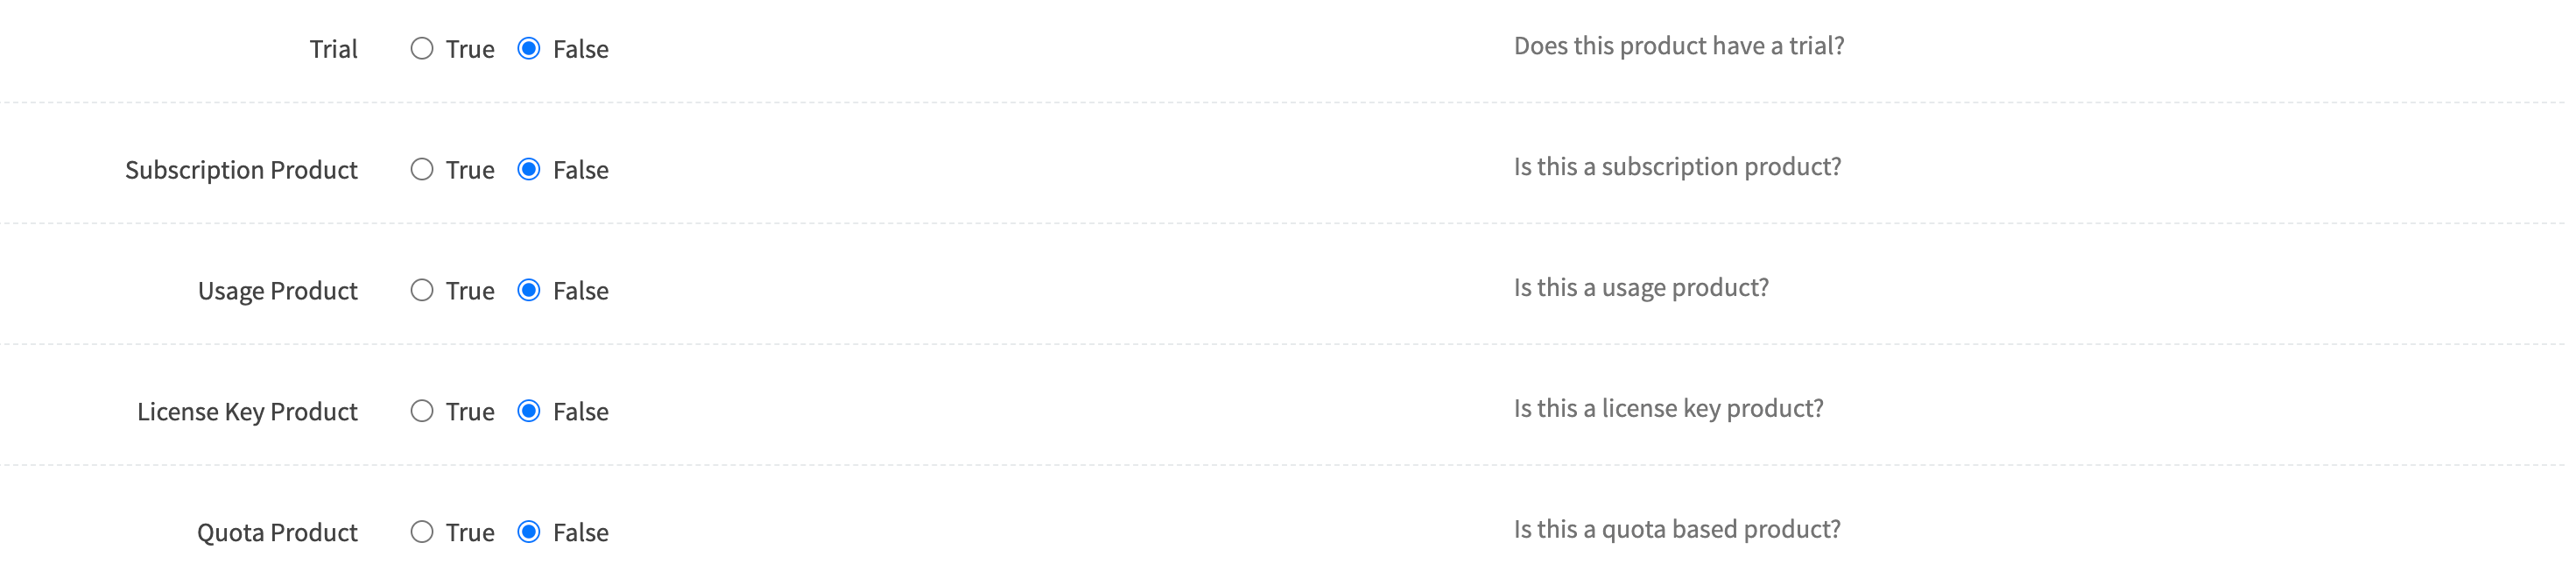
A product can be different types. Use the Billing tab for subscription, trial, and bundle options, and the Shipping tab for shippable products. View the types and explanations below.
Trial Options
If the product has a trial period, enter the number of Trial days in the Billing tab. Additional trial fields will be displayed.
Important: If the product is shippable we highly recommend you read the Shipping Profile documentation

Trial Duration
Add a trial duration in days. This will create a trial for the product and not charge the customer until the trial ends. Required.
Trial Price
The Expiration price field sets the price to charge when the trial ends, if different from the base Price. Useful when selling a trial and subscription product, where the subscription renews at the base price, but you want to charge a different amount first when its trial expires. Leave blank to use the base price.
Trial Shipping
If the product is a shippable product, specify when to ship the product. By default, trial products will not ship until the trial ends.
Options:
- Trial Expiration Only: Ship only when the trial has ended.
- Trial Creation Only: Ship only when the trial was created, i.e. initial sale date.
- Both Expiration and Creation: Ship when the trial was created and when trial has ended, creating two shipments.
Subscription Options
For a subscription product, select a Subscription profile in the Billing tab. The Renewal price field will be displayed.
Important: If the product is shippable we highly recommend you read the Shipping Profile documentation

Subscription Profile
Select the subscription profile the product is associated with.
Subscription Price
Use the Renewal price field if the subscription renewal price is different from the initial sale price. Leave blank if you wish to charge the same amount at initial sale and renewal.
Example: You want to sell a subscription based product for $10 at initial purchase, but charge $20 for each renewal. You would set the base Price to $10 and the Renewal price to $20. When the customer initially purchases the product they will pay $10, and when the subscription renews they will pay $20.
Additional Options
Open Catalog & IDs to manage product associations, catalog attributes, identifiers, and metadata.
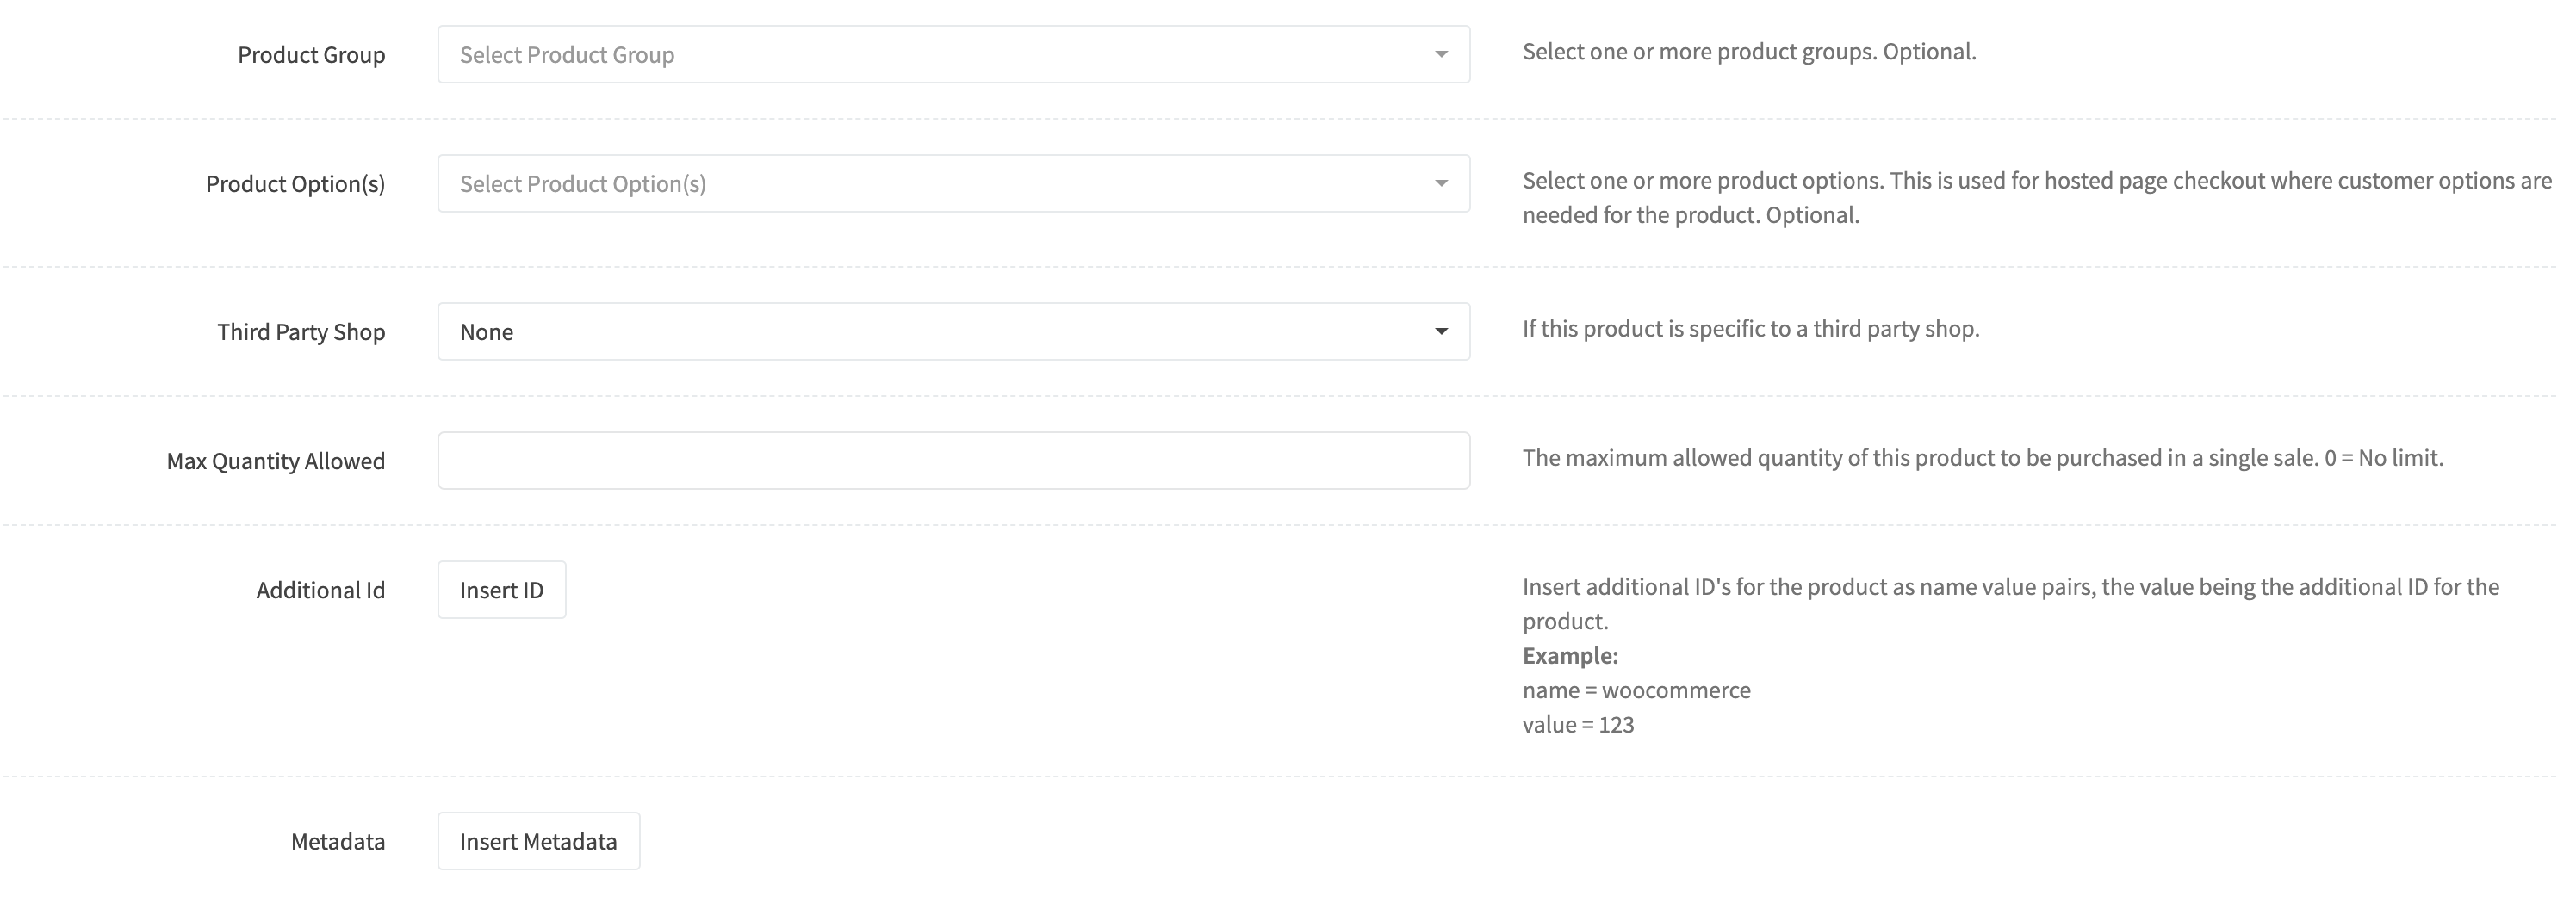
Product Group
Select one or more Product Groups to attach to the product.
Parent Product
Enter the parent product reference when the current product is a variation or child product.
Third Party Shop
Select a Third Party Shop to associate with the product.
Additional ID
Insert additional ID’s for the product as name value pairs, the value being the additional ID for the product.
Metadata
Attach one or more metadata entries to the product.
For Products used in a RevCent Site catalog, metadata can help the Site organize storefront URLs and category placement. Common Site catalog metadata names are:
- slug: A URL-friendly Product slug, such as
organic-coffee-beans. - site_categories: A JSON string array of slash-delimited Site category paths, such as
["coffee/beans","subscriptions"].
These metadata entries help Site presentation, but they do not replace Product Group membership, Product price, shipping settings, subscription settings, or other standard Product fields.
Shipping Options
If the product is shippable, turn on Shippable in the Shipping tab and select its fulfillment account. You can also enter the product’s weight and dimensions.
Important: If the product is shippable we highly recommend you read the Shipping Profile documentation
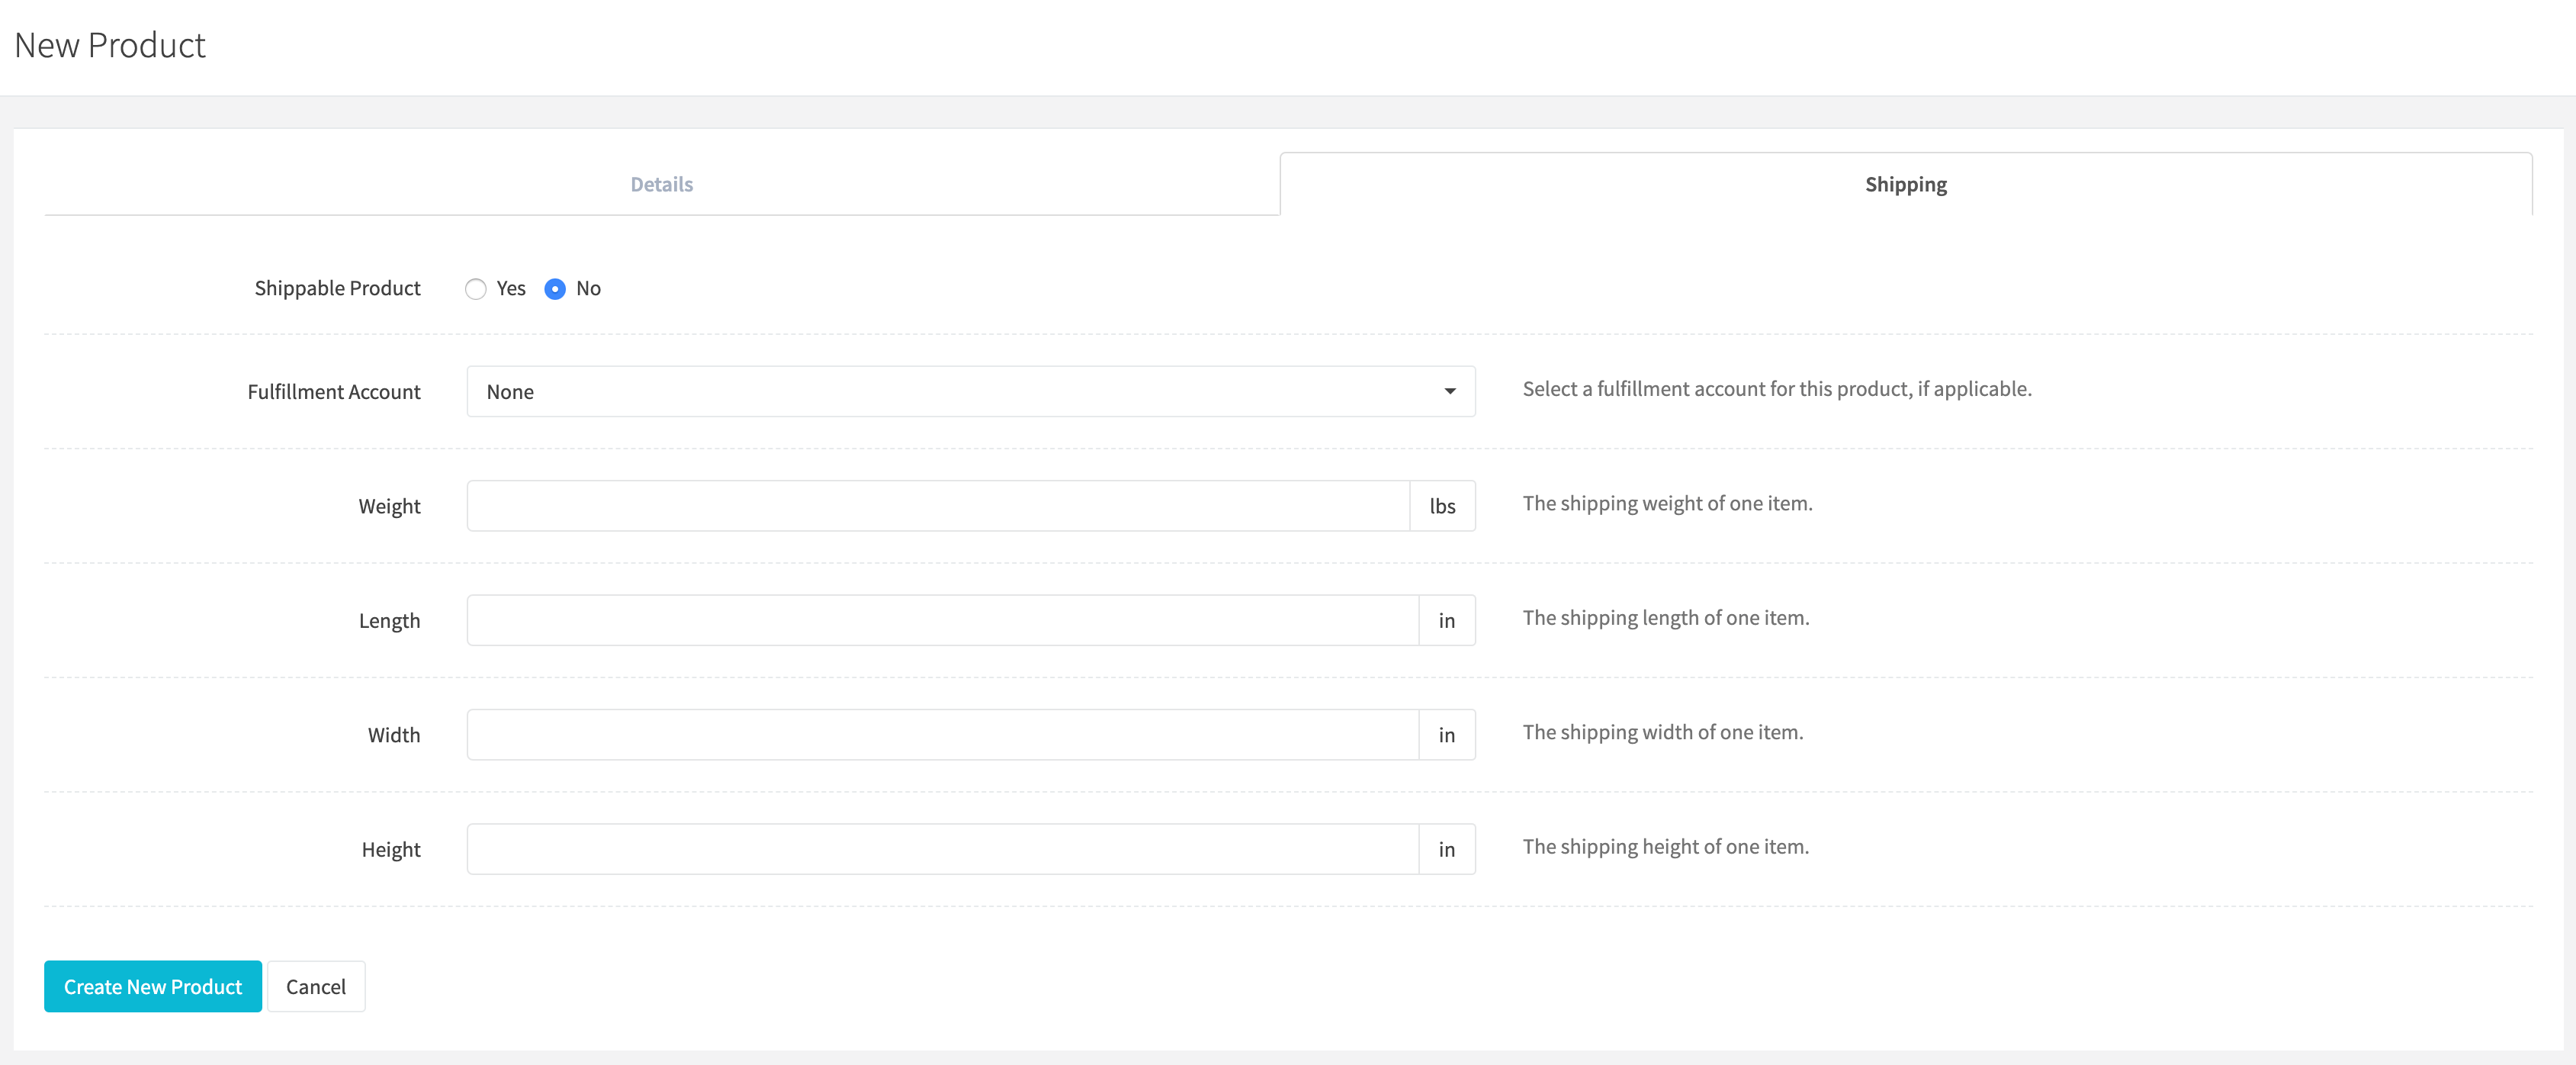
Shippable Product
Set whether the product is shippable. The switch is off by default.
Fulfillment Account
Select a Fulfillment Account if the product is shippable and has a related fulfillment integration.
Bundle Options
You can create a product that is a bundle of other products using the Bundle section of the Billing tab.
Important: We highly recommend you read the Product Bundle documentation.
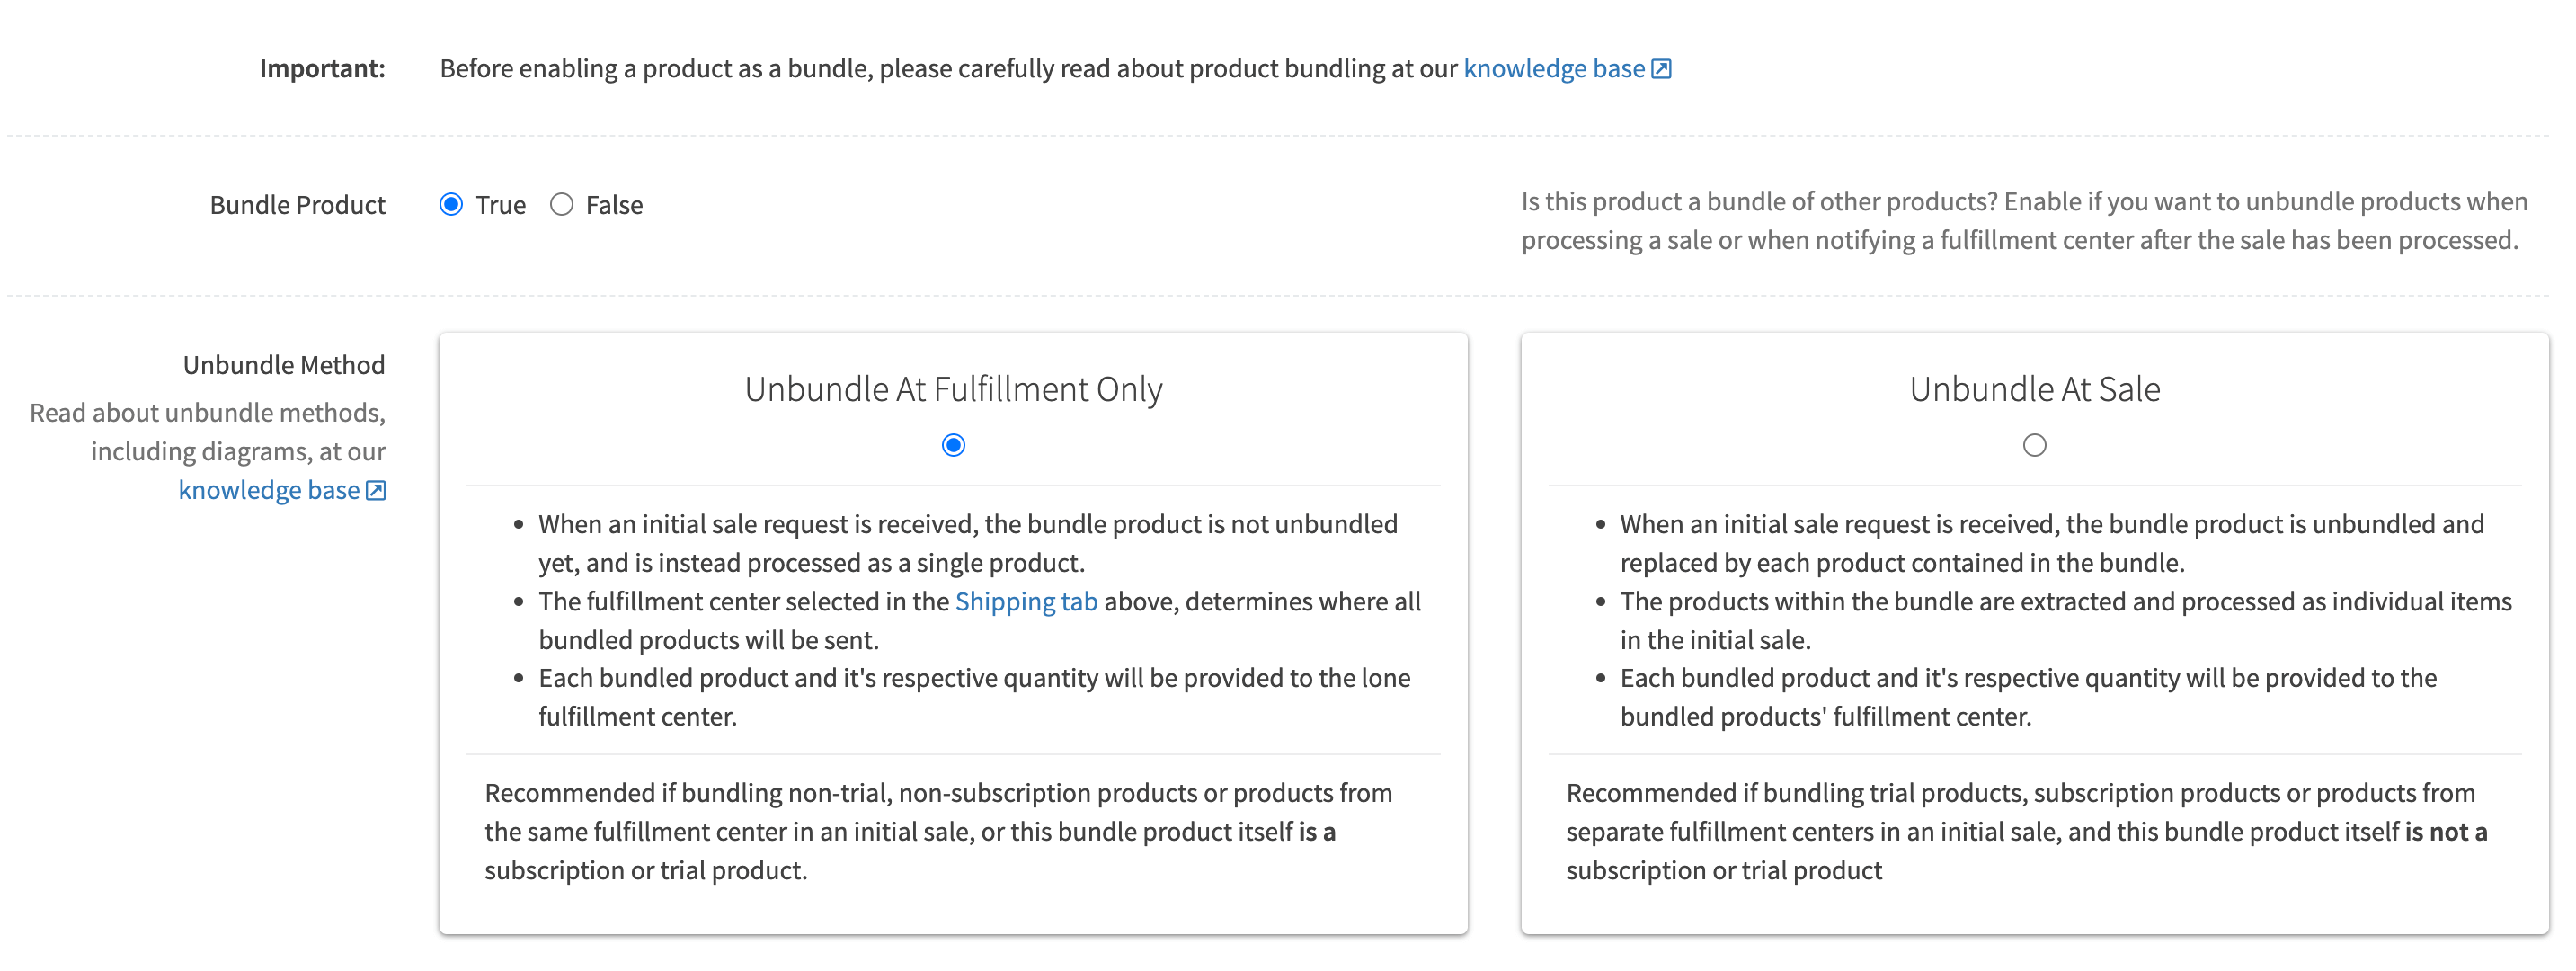
Bundle Product
Turn on Bundle product to configure a bundle. The switch is off by default.
Unbundle Method
Select the Unbundle Method using Unbundle timing, then use Add bundle product to choose the included products.
Import Products
Instead of manually creating an individual product you can import one or more products into RevCent using the import utility.
To begin importing products, go to https://revcent.com/user/import-products.
Import Source
Select the import source.
Options:
- CSV File: Choose a CSV file containing appropriate columns and values. Use Download template on the import page for the current column headers.
- Third Party Shop: Have RevCent connect to your Third Party Shop and download products.
CSV File Import

- Open the CSV file tab and click Choose a product CSV.
- Select the CSV file on your computer. Files can contain up to 5,000 rows and must be no larger than 5 MB.
Once the products are loaded from the CSV, proceed to the Import Table section below.
Third Party Shop Download

- Open the Third-party shop tab and select the connected shop.
- Click Fetch products.
Once the products are downloaded, proceed to the Import Table section below.
Import Table
After uploading a CSV or downloading from your Third Party Shop, the products will be displayed in the import table.

Review the products in the editable import grid. You can edit cells, select rows, fill values into other cells, and undo or redo changes before starting the import.
The Action column shows whether RevCent will create or update each product. Resolve any rows that need attention before importing.
Start Import
Click Import products and confirm the batch to begin. RevCent imports products one at a time and displays each outcome in the Result column.
Import Success
Successful rows are highlighted in green, with created or updated in the Result column. The submitted batch is locked to prevent repeat submission.
Import Error
If an import error occurs, the reason is displayed for the affected row. Review the results and the Products list before preparing a corrected CSV and loading a new batch. Exclude products that were already imported successfully to avoid creating duplicates.
Import Complete
Once the import has completed, the results for each product will be displayed. Congratulations, you have successfully completed a product import.
