¶ Organization Preset
An organization preset within RevCent gives you the ability to preselect fields, specific to a page or form, preventing mistakes when a user is completing a form. This is extremely useful for customer service personnel and internal employees, giving them the ability to have specific fields auto filled/selected. You associate a preset with one or more organizations, allowing only users within the respective organization to view/select specific organization preset(s).
Important: After creating an organization preset, you must associate the preset within one or more organizations, allowing the users within the respective organization(s) to view/select the preset. You can associate an organization preset by editing a specific organization and selecting preset(s) within the associations tab. Organization presets are not globally available to all users. If you do not associate a preset with an organization, or a user is not within an organization a preset is associated with, the user will not be able to view/select the preset you created. This is intended to help segment presets to users based on their role and/or scope within your business(s), thus being organization specific.
¶ View Organization Presets
View all organization presets by clicking the Organization Presets link on the sidebar in the Organizations dropdown or go to https://revcent.com/user/organization-presets

¶ Create Organization Preset
Create a new organization preset by clicking the Create New Organization Preset button when viewing all organization presets or go to https://revcent.com/user/new-organization-preset

¶ Name
Set a name for the organization preset.
¶ Description
Description for the organization preset. Note: Descriptions will be displayed alongside preset names so organization users can identify specific presets.
¶ Status
Set the status for the preset. Disabled presets will not be visible to organization users.
¶ Edit Organization Preset
Edit an existing organization preset by clicking the edit button when viewing all organization presets.
¶ Details

¶ Name
Set a name for the organization preset.
¶ Description
Description for the organization preset. Note: Descriptions will be displayed alongside preset names so users can identify specific presets.
¶ Status
Set the status for the organization preset. Disabled presets will not be visible to organization users.
¶ Settings
Several options exist depending on preset type. At this time the only available preset type is for New Sale. View the New Sale preset section below.
¶ New Sale Preset
Specific options are available to preset based on the new sale page in the RevCent web app. You can preset the payment type, campaign, shop and more. When an employee or customer service rep chooses a given organization preset, any organization preset values you selected will be auto filled on the new sale page.
¶ Selector Options

¶ Preset Type
Set the preset type New Sale.
¶ Preset Options
The preset options are specific to the form/page that the preset type is related to. For example, the New Sale preset type is specific to the form contained in the new sale page in the RevCent web app.
¶ Lock Checkbox
Certain preset options have the ability to be locked. This prevents a user from being able to change a selection after selecting the preset. For example, if you check Lock for campaign, the campaign you select in the preset will be auto selected on the related form/page and the user will be prevented from being able to change the campaign on the form/page.
¶ Auto Select
You can automatically select a specific preset for users within an organization in which this preset is attached to. Useful to ensure employees choose the correct preset by selecting it automatically.
For example, if this preset is attached to an organization, and a user within the organization visits the new sale page, this preset can be automatically selected and thus populate the appropriate selector options.

¶ Auto Select User Types
Select at least one user type the auto select will apply to. Required.
¶ Auto Select Locked
If you wish to lock this preset, disallowing any other presets from being available. This will cause the user who visits the new sale page to have the specific preset being the only one available, with options auto populated.
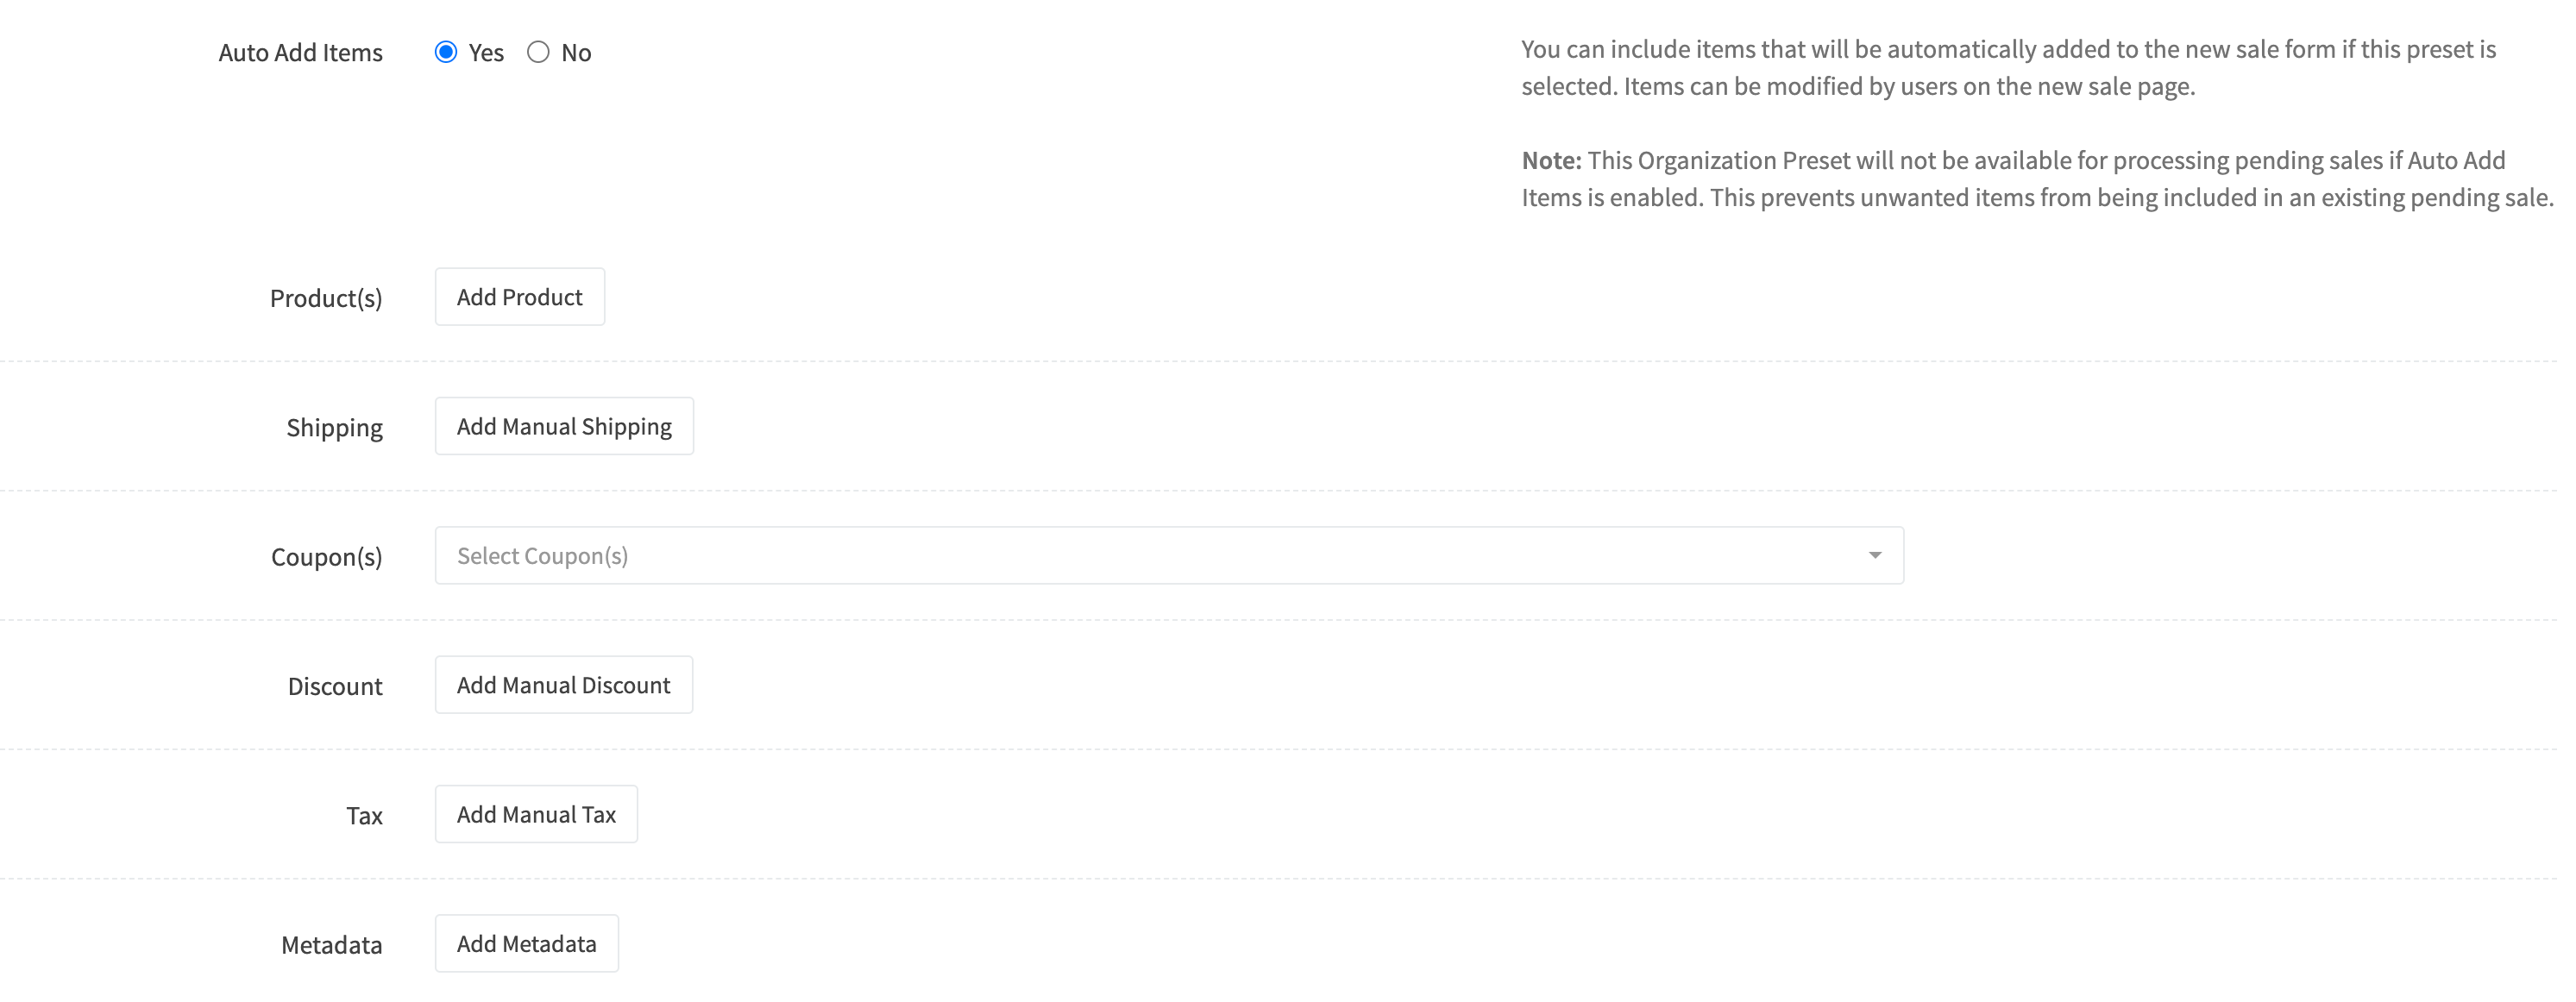
¶ Auto Add Items
You can include items that will be automatically added to the new sale form if this preset is selected. Items can be modified by users on the new sale page.
Note: The will not be available for processing pending sales if Auto Add Items is enabled. This prevents unwanted items from being included in an existing pending sale.

¶ Items
Each item can be added by clicking the Add [item] button. You can add multiple entries for each item.